| Welcome, Guest |
You have to register before you can post on our site.
|
| Forum Statistics |
» Members: 62
» Latest member: Dataqix
» Forum threads: 454
» Forum posts: 458
Full Statistics
|
| Online Users |
There are currently 33 online users.
» 1 Member(s) | 30 Guest(s)
Baidu, Bing, xtameembb
|
|
|
| Silksong's Nerfs: I'm Dying on the Moorwing and Sister Splinter Hill |
|
Posted by: xtameembb - 09-22-2026, 11:25 AM - Forum: Introductions
- No Replies
|
 |
In 2026, I am still trapped in a love/hate relationship with Hollow Knight: Silksong. I waited seven years for this sequel. I sharpened my needle, practiced my pogo, and convinced myself I would be ready. Then Pharloom looked at me, laughed, and threw a flying bug at my face. I adore Hollow Knight, but I know my skill gap. I never mastered those nightmarish pogo platforming sequences. I was relieved the hardest content was optional. Silksong, however, has me neck-deep in a first playthrough that feels like a gorgeous, punishing dance. The recent patch has nerfed two bosses, Moorwing and Sister Splinter, and I have opinions. I think those nerfs are largely inessential.

The Patch Notes Heard Round Pharloom
Team Cherry released a lengthy set of patch notes. Most changes are beneficial. They tune the game closer to what Team Cherry initially envisioned. Among them, two bosses received slight nerfs. Cue the community splitting like a Splinterbark under a charged slash. In any difficult game, especially one with Soulslike DNA, everyone has a take. The 112% Hollow Knight veterans say skill issue. The rest of us say please stop throwing three flying enemies into a tiny room. I am somewhere in the middle. I respect the challenge. I also respect my blood pressure.

Why Moorwing Did Not Need a Nerf
Moorwing is a wholly optional boss. You are not locked into an arena with it. If you do not want to fight it, you can simply walk away. That alone makes a nerf feel strange. Optional bosses are where developers can put the spicy stuff. They are the ghost peppers of game design. You do not have to eat them. If you do, you accept the burn.
Here is my evidence, presented with the confidence of someone who has been dive-bombed by a giant moth:
You can skip Moorwing. Progressing the Flea Caravan wish or quest can skip the fight. Moorwing does return later near the Greymoor Bellway, but that is a choice, not a cage.
You can cheese Moorwing. Ascend to the top of the area and downward-attack from a ledge. The beast cannot circumvent it. It is not elegant. It is effective. In Silksong, effective is a love language.
You can summon Garmond and Zaza. You can request aid against Moorwing. In my experience, they did not appear after I requested them when I had transitioned Moorwing to the Bellway-adjacent area and pursued the Flea quest. That was annoying, but it does not change the intent. Help exists.
So why nerf an optional boss that can be skipped, cheesed, or tag-teamed? I do not see it. If Moorwing was a mandatory gate, sure, tune it. But it is not. It is a test you can ignore. Nerfing it feels like removing a pepper from a dish nobody was forced to order.
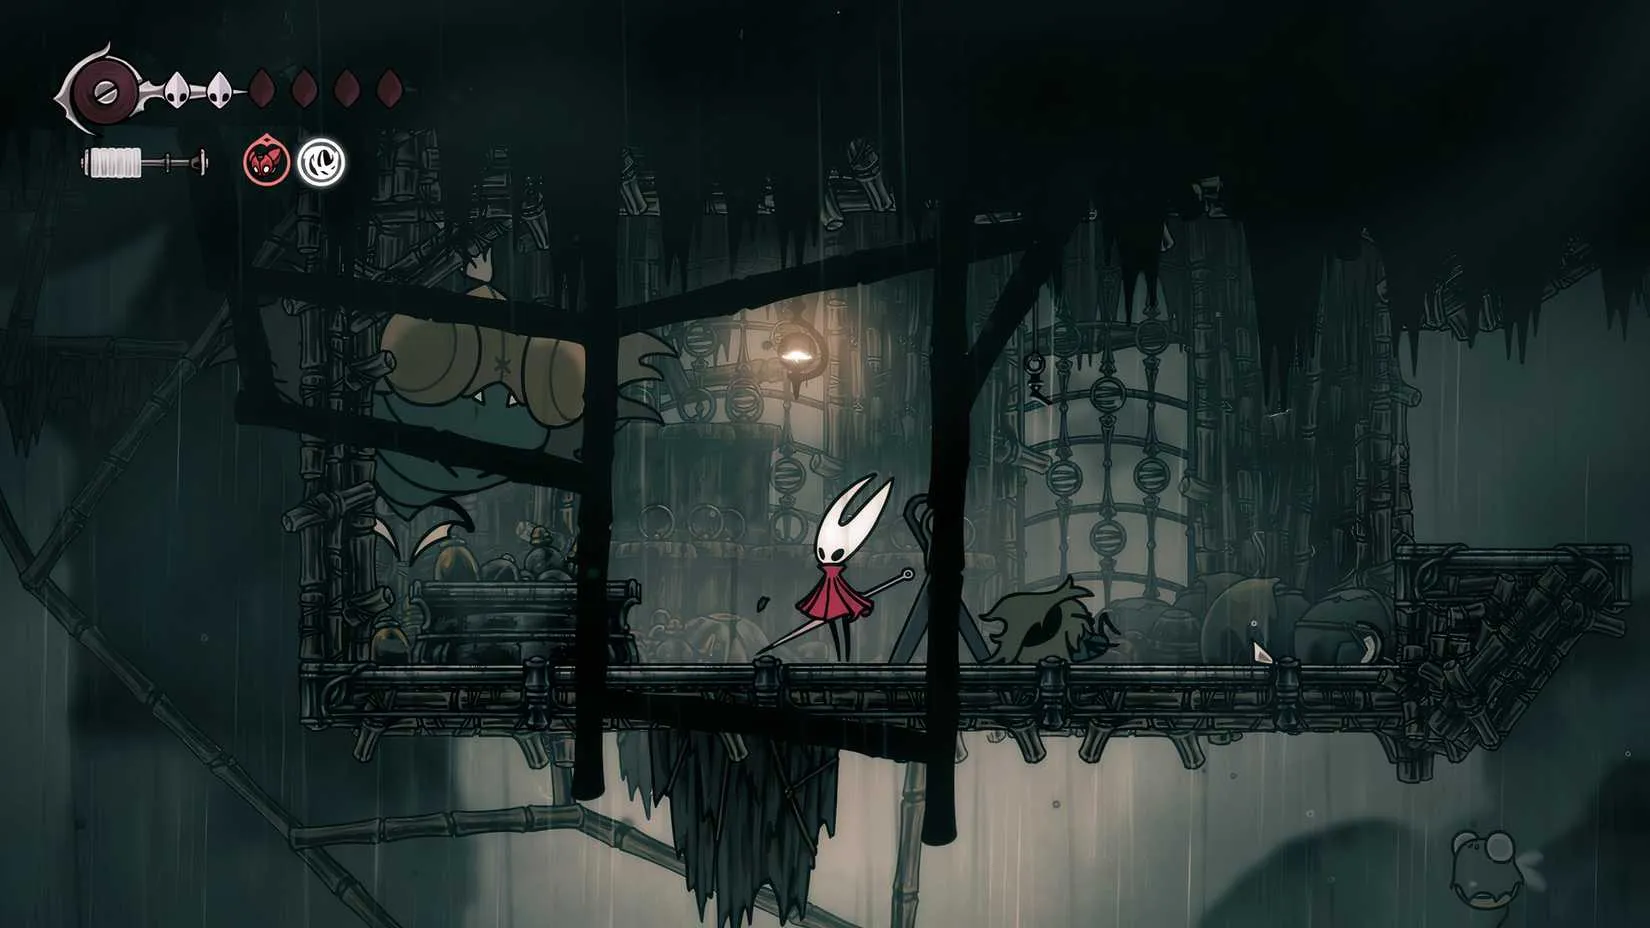
Sister Splinter and the Splinterbark Problem
Sister Splinter is a different story. I found the only real obstacle in that fight to be the Splinterbarks. That is a pattern for me. I dislike many bosses that revolve around ads. Flying enemies are egregiously grating pests. They hover just outside your reach, they punish your jumps, and they make you feel like you are swatting at a wasp while a larger wasp throws furniture at you.
I am dying on the hill that flying enemies are pests. I am also dying on the hill that gank gauntlets lean too heavily on the first game's Colosseums. They are overtuned and excessive. Silksong's rosary economy is brutally impoverishing, though this patch mitigates that somewhat. Thank goodness. I was starting to think I needed a second job in Pharloom.
If anything had to be nerfed, I would prefer gauntlets had fewer waves. I would prefer fodder enemies did not take several hits to kill. They take two to three hits to kill me, including insidious contact damage. I despise contact damage in any 2D game. It is the cheapest form of disrespect. You do not even need to be attacked. You just need to exist near a bug. Congratulations, you have lost a mask.
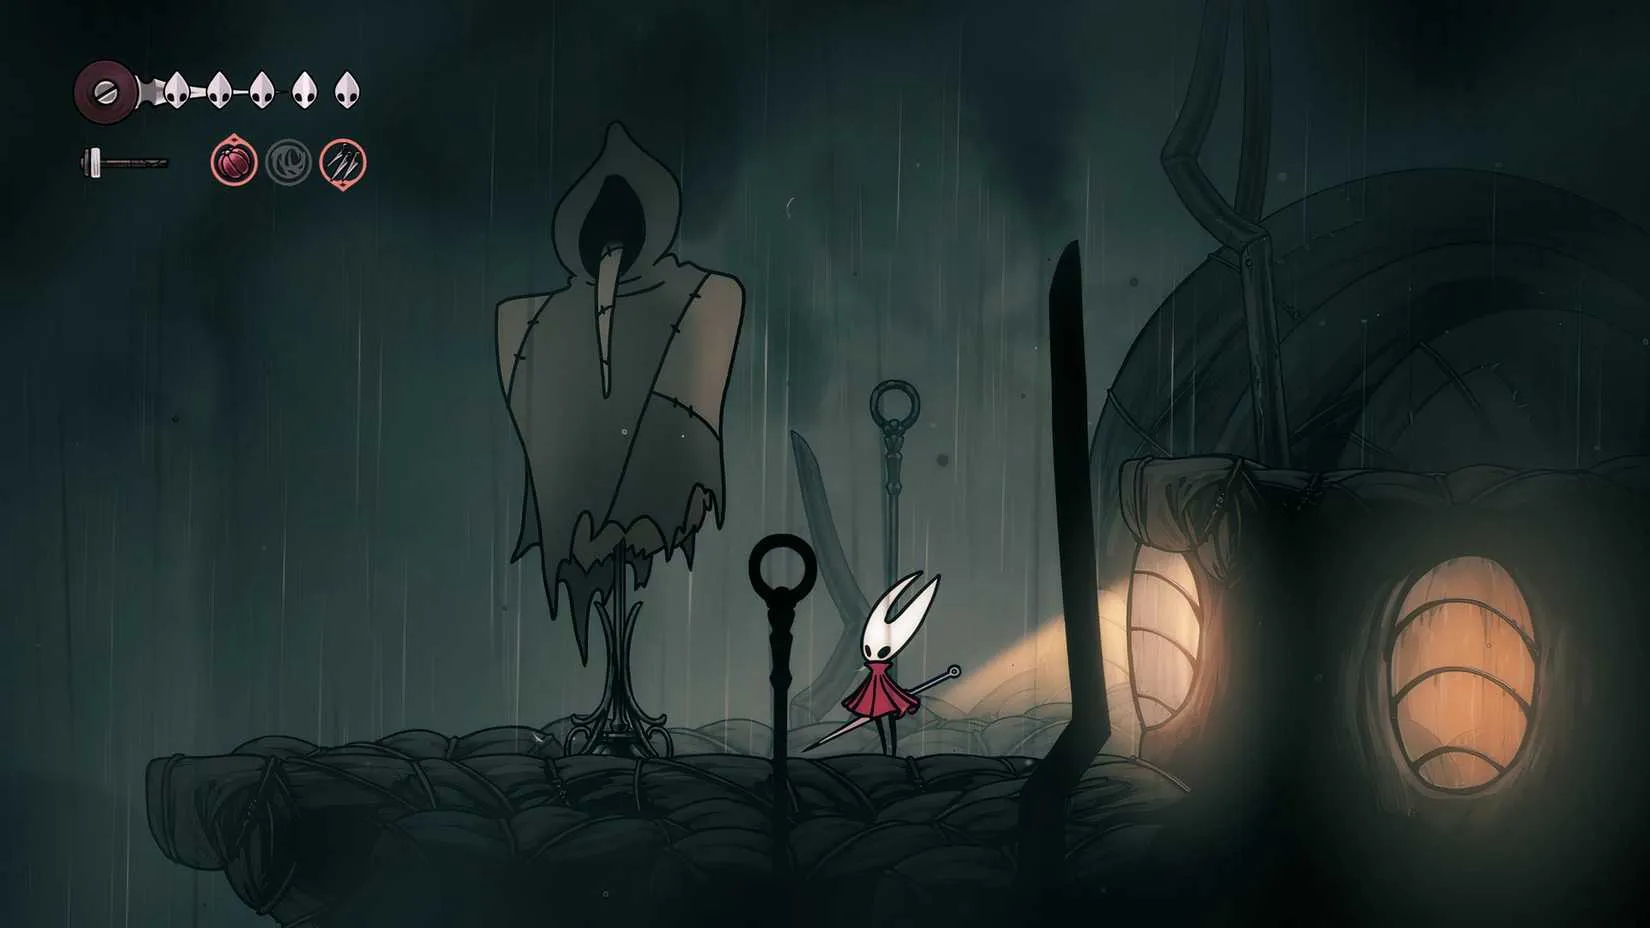
What I Would Nerf Instead
Problem
My Nerf Wish
Reason
Gauntlet waves
Fewer waves
Endurance is not the same as difficulty
Fodder enemies
Die in fewer hits
Trash mobs should not feel like bosses
Contact damage
Reduce or remove
It punishes proximity, not mistakes
Rosary economy
Already touched
I like buying things without selling a kidney
Flying enemies
A stern talking-to
They know what they did
I do not expect these nerfs to strike Silksong's gameplay. I genuinely respect Team Cherry for having a certain level of challenge in mind. Some design choices, however, feel made to impede or frustrate me beyond anything else. There is a fine line between a hard game and a game that is hard because it keeps kicking you in the shins while you tie your shoes.
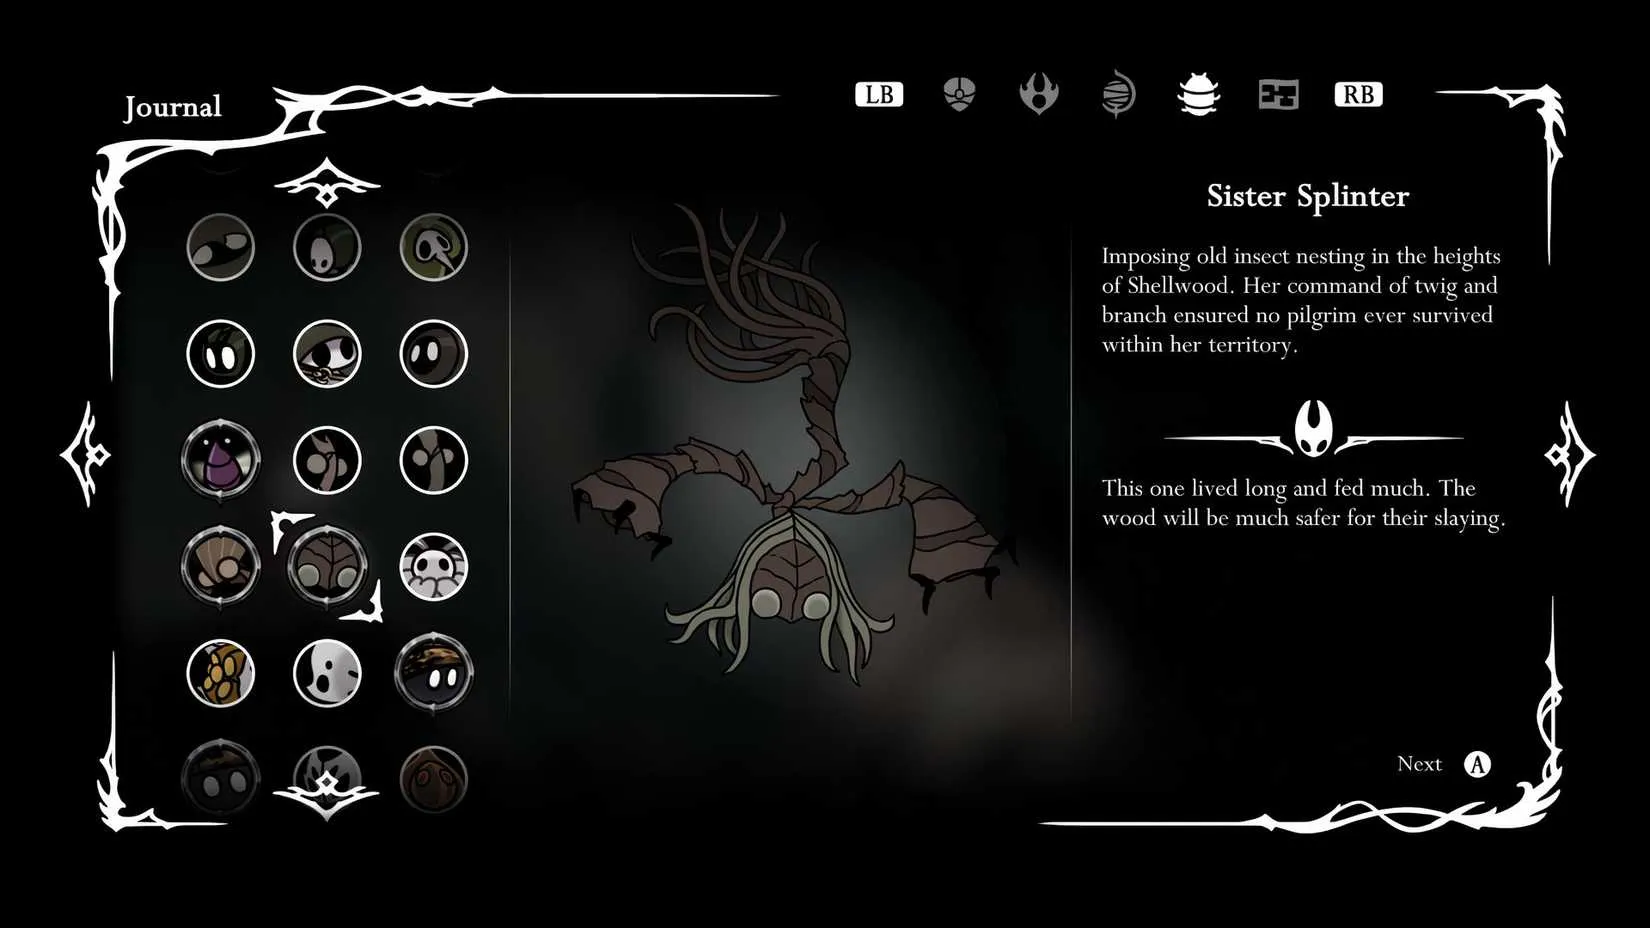
The Second Patch and the Endless Discourse
Interestingly, the patch notes declare that Team Cherry is already working on a second patch. That suggests more nerfs and/or buffs are coming. Each subsequent patch will divide the playerbase again. Some will call it redundant. Some will call it appreciated. Some will call it a betrayal of the vision. Some will call it Tuesday. In 2026, the discourse is still going. Silksong is not ruined. It is polarizing. It is difficult. It is beautiful. It is also occasionally a migraine with a soundtrack.
My love/hate relationship with Silksong is not going anywhere. I will keep playing. I will keep dying. I will keep muttering about Splinterbarks under my breath. But if I had to choose, I would leave Moorwing and Sister Splinter alone. Nerf the gauntlets. Nerf the contact damage. Nerf the feeling that every room is a personal insult. Let the optional bosses stay sharp. Let me walk away if I want to. And let me complain about it either way, because that is the true endgame.
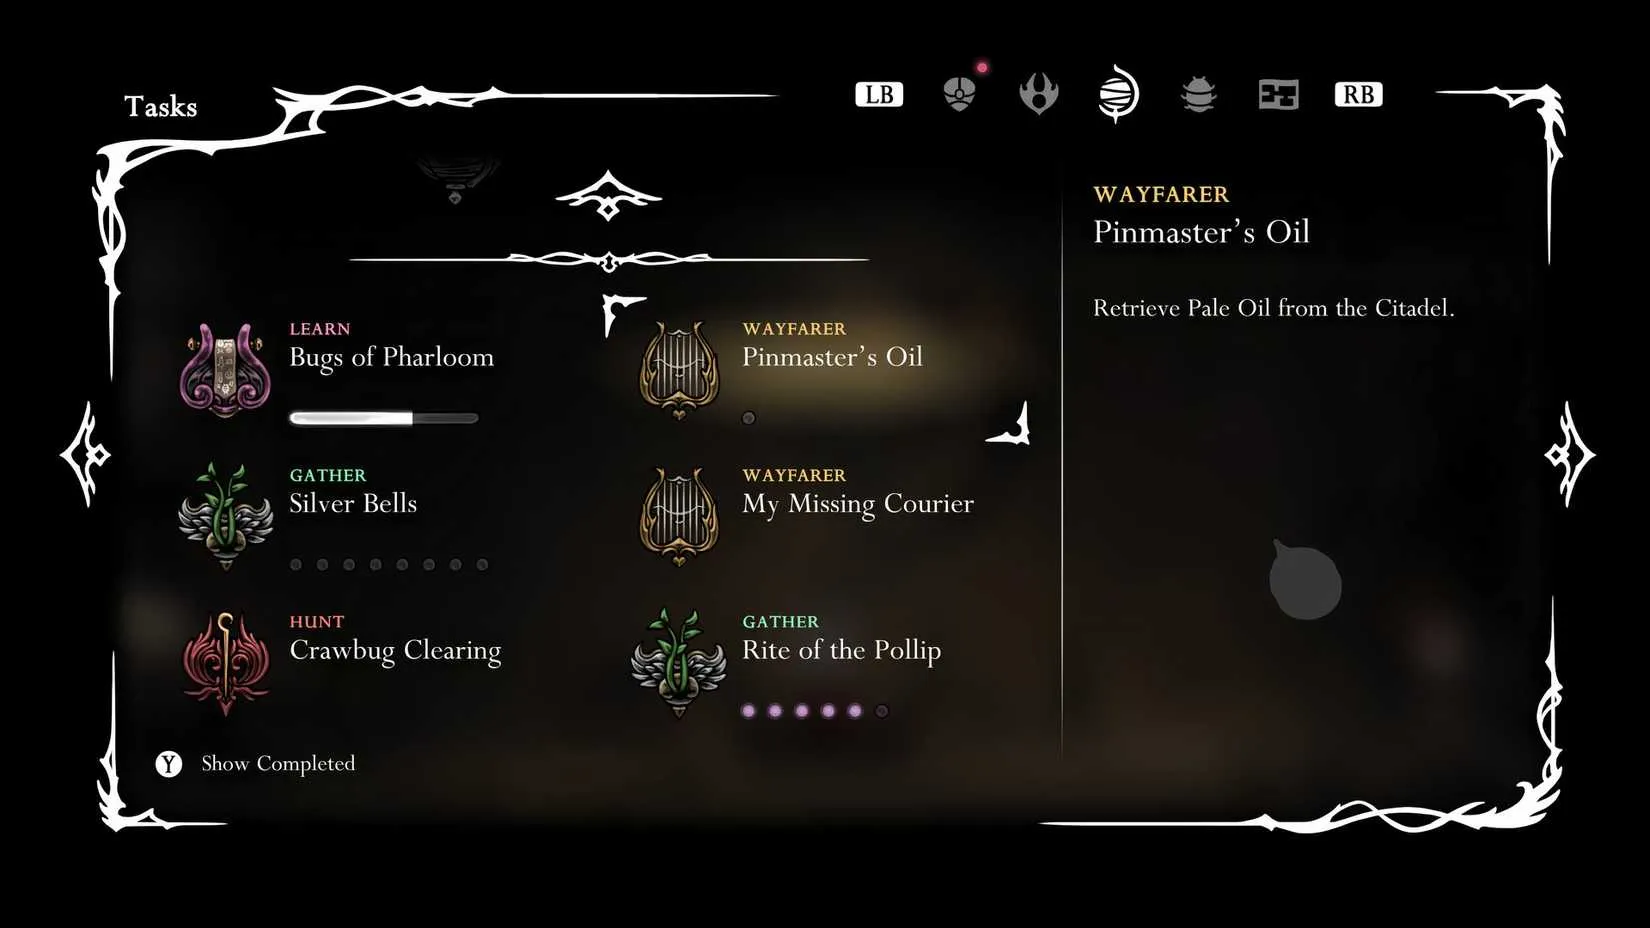
If you are still on the fence about picking up Silksong, or you are eyeing a few metroidvanias to tide you over while the second patch cooks, it helps to know what you are actually paying before you commit. Prices swing wildly between storefronts, regional eShops, and key resellers, and the difference between a full-price impulse buy and a discounted pickup is often a few clicks. I have started running everything through a game price comparison site like DealNest before checkout, mostly because my backlog is already a monument to good intentions and I would rather spend the savings on a game I will actually finish.
It is also a small mercy when a title you were unsure about drops below the threshold where the frustration stops mattering. A hard game at full price feels like a gamble. The same hard game at a discount feels like a challenge you chose. Either way, check the numbers before you hand over your rosaries.
|

|
|
| MMOEXP Aion 2 Global Launch: Guida al Gear per il PvE |
|
Posted by: Specific - 09-22-2026, 09:06 AM - Forum: Introductions
- No Replies
|
|
Pronto a dominare il PvE di Aion 2 fin dal primo giorno? Ottenere rapidamente un equipaggiamento potente non significa grindare senza sosta, ma seguire il giusto percorso di progressione. Gestire saggiamente i tuoi Kinah Aion 2 può inoltre aiutarti a prepararti per potenziamenti essenziali, materiali e altre necessità. Dalle ricompense della campagna ai dungeon Expedition e al potenziamento dell’equipaggiamento, questa guida mostra i metodi più efficienti per creare una solida configurazione PvE durante il Global Launch.
Inizia dalla Storia Principale per Ottenere Equipaggiamento Gratuito
La missione principale dovrebbe essere sempre la tua prima priorità. La progressione della campagna fornisce utili equipaggiamenti iniziali, sbloccando al contempo sistemi importanti e contenuti PvE di livello superiore. Invece di spendere subito materiali preziosi, usa le ricompense delle missioni per riempire gli slot vuoti e mantenere un buon livello oggetto.
Il tuo obiettivo iniziale non è creare una build perfetta, ma raggiungere il requisito del contenuto successivo nel modo più efficiente possibile.
Punta ai Dungeon per Ottenere Migliori Drop PvE
Una volta ottenuto l’equipaggiamento di base, concentra l’attenzione sulle Expedition e sugli altri dungeon PvE. Queste attività diventano sempre più importanti perché possono offrire equipaggiamenti e materiali di qualità superiore per continuare la progressione. Le difficoltà maggiori offrono generalmente ricompense migliori, rappresentando un passaggio importante verso l’equipaggiamento endgame.
Invece di farmare casualmente ogni attività disponibile, dai priorità ai dungeon che possono migliorare direttamente i tuoi slot più deboli o aiutarti a raggiungere il prossimo requisito di livello oggetto.
Potenzia l’Equipaggiamento, ma Non Sprecare Materiali
La progressione di Aion 2 non consiste semplicemente nell’ottenere oggetti di qualità superiore. Potenziamento, Potential, sistemi legati all’anima e altre meccaniche possono migliorare notevolmente l’equipaggiamento. Tuttavia, investire troppo in oggetti temporanei può sprecare risorse preziose, soprattutto nelle prime fasi della progressione.
Una strategia intelligente consiste nell’effettuare potenziamenti moderati sul set iniziale, conservando poi i materiali premium per l’equipaggiamento che prevedi di utilizzare più a lungo.
Accedi ai Contenuti PvE di Alto Livello
Con l’aumento del livello oggetto, inizia a puntare ai contenuti più difficili per ottenere ricompense migliori. La progressione PvE avanzata può includere potenti equipaggiamenti Unique e Hero, materiali specializzati e, infine, gear di alto livello proveniente da dungeon impegnativi e dai contenuti Sanctuary.
La regola è semplice: avanza attraverso i contenuti invece di inseguire troppo presto l’equipaggiamento perfetto.
Consigli Finali per una Rapida Progressione del Gear
Per il percorso PvE più veloce, segui questo ordine: Storia Principale → Equipaggiamento Iniziale → Dungeon Mirati → Potenziamenti Moderati → PvE ad Alta Difficoltà → Equipaggiamento Endgame. Controlla il livello oggetto, potenzia solo i pezzi che valgono la pena e dai sempre priorità ai contenuti che avvicinano il personaggio al prossimo importante traguardo.
Con il giusto percorso di progressione, puoi dedicare meno tempo al farming ripetitivo e concentrarti maggiormente sui contenuti PvE impegnativi. Se vuoi accelerare il processo di equipaggiamento, puoi anche comprare Kinah Aion 2 per ottenere risorse aggiuntive per potenziamenti e progressione. Su MMOEXP.com puoi inoltre ottenere l’8% di sconto usando il codice “Specific” al checkout.
|
|
|
|
| My Abyss Survival Guide in Silksong: Map, Entry, and Escape |
|
Posted by: xtameembb - 09-22-2026, 07:12 AM - Forum: Introductions
- No Replies
|
|
As a die-hard Hollow Knight fan, I dove headfirst into Silksong's Act 3 the moment I unlocked it. And let me tell you, the Abyss is no joke. This pitch-black nightmare will test your patience, but the rewards are worth it. Here's my personal account of finding the Abyss map, reaching the depths, and clawing my way back out.
Finding the Abyss Map
So you've made it to the Abyss. Congrats, but you're probably blind as a bat down there. The Abyss map is located right on top of the southern bench. After you reach that checkpoint, look for an opening above you and jump up there. Then head a little to the left, and you'll claim the map. Once you grab it, all the areas Hornet has already discovered on the way to the bench will instantly appear on your map. ?️
But here's the catch: the Abyss map only opens after you've gone through the pitch-black depths. So there's no way to use it before that. Trust me, I tried. You just have to stumble around in the dark for a bit.
How to Reach the Abyss
Reaching the Abyss in Silksong is no easy task. After entering Act 3, Hornet is determined to fix the disaster that's fallen upon Pharloom. To do that, she needs to reach the cause of it all in the depths, which means volunteering for a journey to the Abyss.
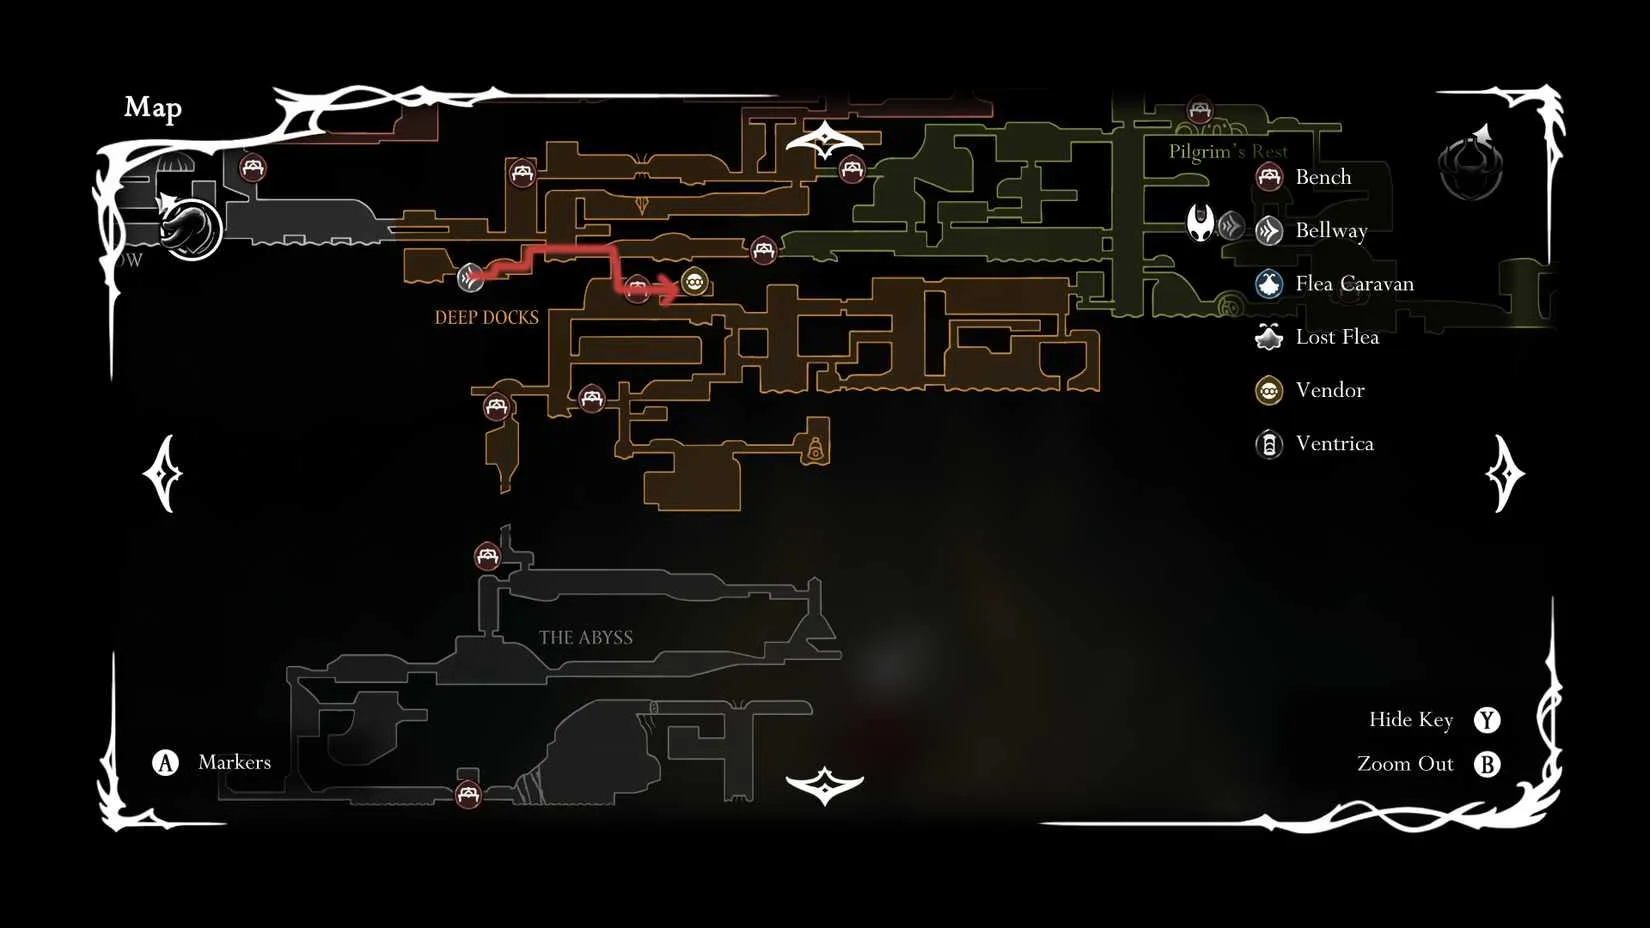
To get there, she needs help from someone who knows how to forge a vessel that can withstand the trip. So you'll need to journey to the Deep Docks and find the Forge Daughter, who's marked by the vendor icon on your map. But when you speak to her, she'll tell you that the one you actually need is Ballow, the worker next to her. Talk to Ballow, and he'll agree to help Hornet.
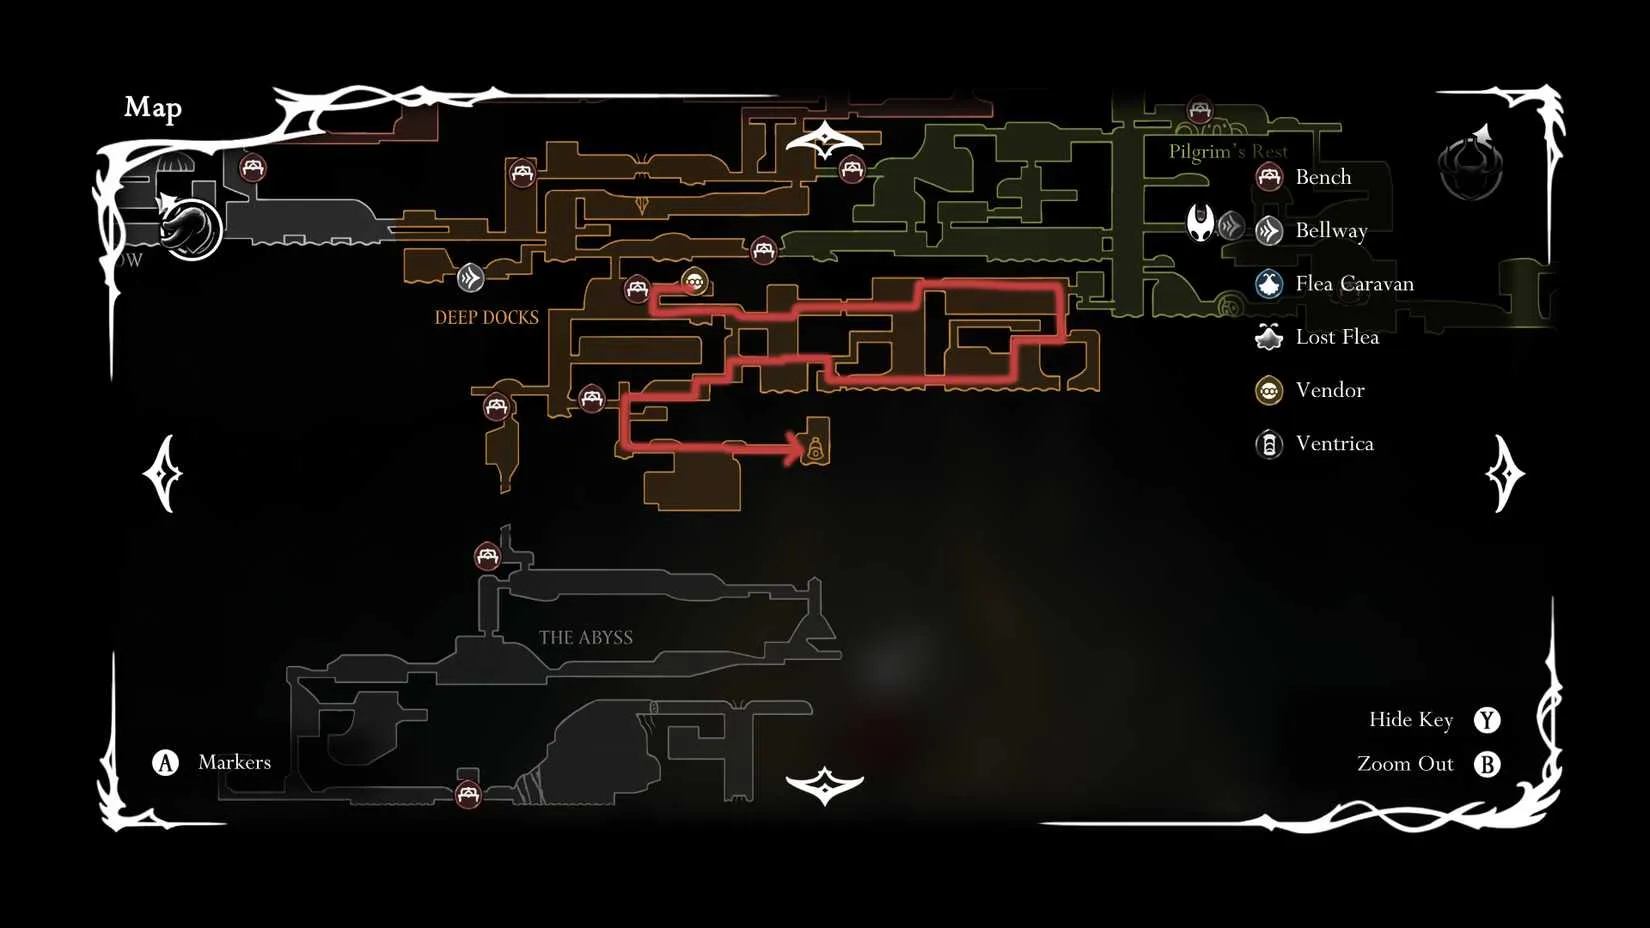
Next, head to the old diving bell and speak to Ballow again to begin your ascent to the Abyss. If you've never explored this part of the Deep Docks, you'll have to take a long detour before you reach Ballow's next location. Once you enter the diving bell and travel down, you'll finally arrive in the Abyss. From there, Hornet must find her way to the southern bench, where she'll meet a familiar figure shortly after.
How to Escape the Abyss
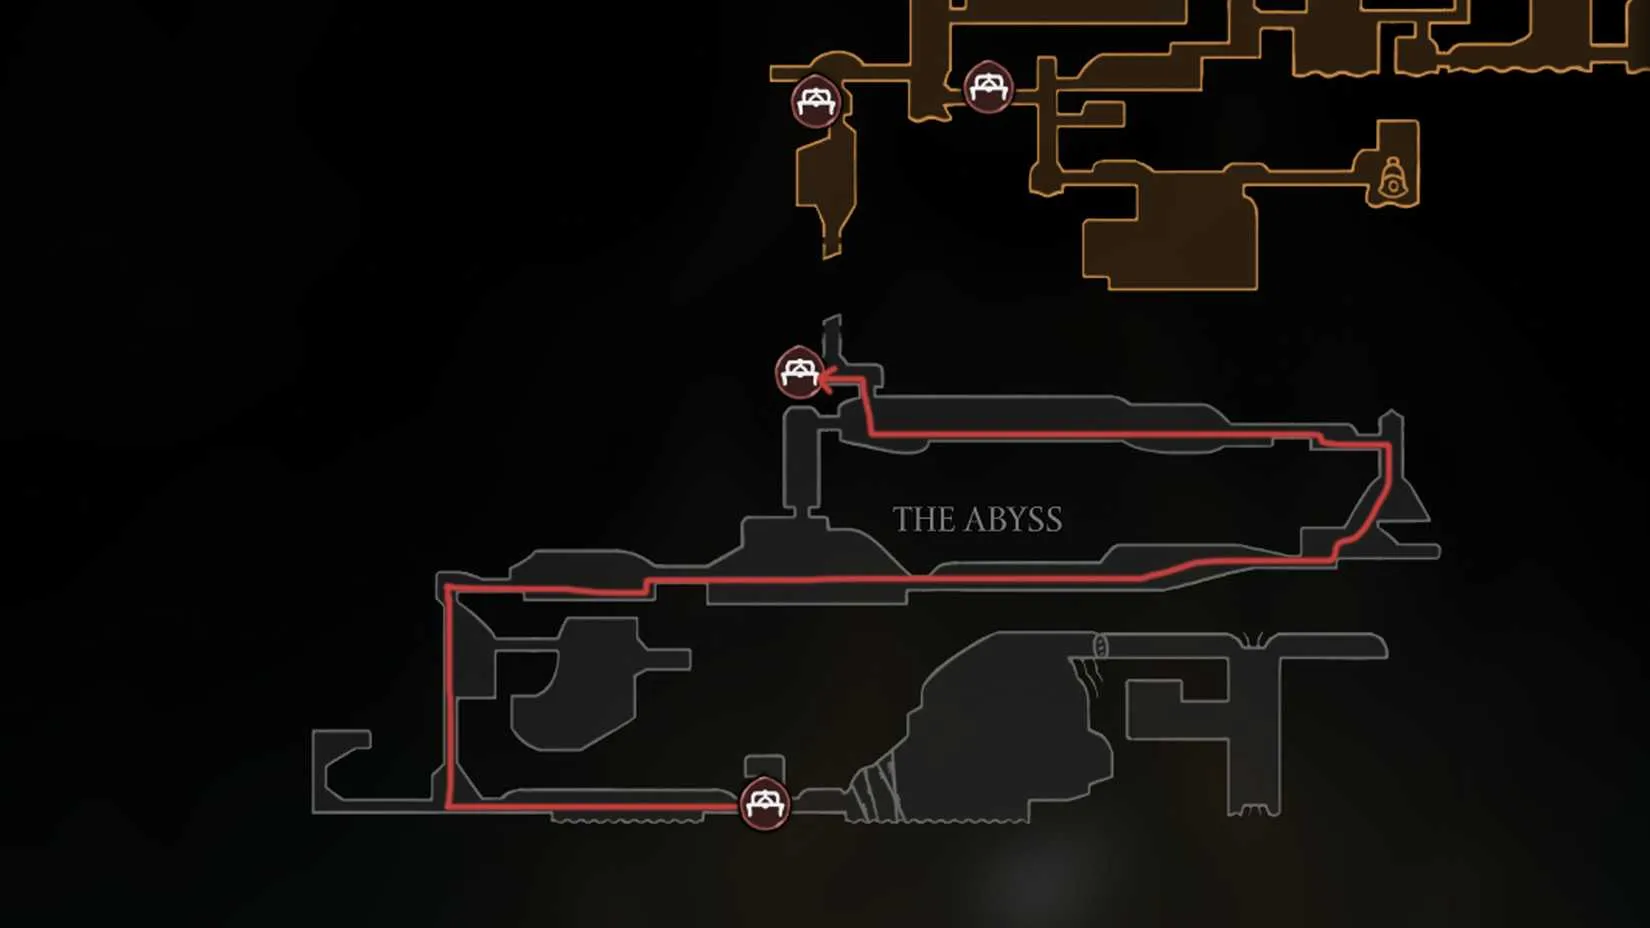
Okay, so you're stuck in the Abyss. Now what? To escape, you need to get the Silk Soar skill first. Find a way up, and on the top-right, there will be a door that can be opened using the Needolin skill. Head through that door and keep descending to get the Super Jump ability, which is required to get out of the Abyss.

After obtaining the Super Jump, backtrack to the route you took previously. But this time, additional routes will be available to the left, with a bench at the end. Make sure you rest on this bench, because the next part of the exit is unforgiving and may take a few tries. Believe me, I died more times than I care to admit. ?
Final Thoughts
Silksong not only gives you a world that's satisfying to explore, but also a cryptic story that hides a lot more than you'd expect. There's even more than one ending to discover, which means plenty of replayability on top of the Steel Soul (permadeath) mode. Once you unlock the secret Act 3, the Abyss is just one of many challenges waiting for you.
So there you have it: my personal guide to the Abyss map location, how to reach it, and how to escape. It's a tough journey, but that's what makes it so rewarding. Now go out there and show the Abyss who's boss. ?️⚔️
If you've made it this far, chances are you're either deep into your own run through Pharloom or seriously considering picking up Silksong — or its predecessor — for yourself. Between multiple storefronts, regional pricing, and sales that seem to vanish as quickly as a Shade, keeping track of what's actually a good deal can be almost as tedious as navigating the Abyss without a map. That's where something like a game price tracker comes in handy, letting you monitor price drops across platforms instead of refreshing store pages every few days.
Whether you're hunting for a discount before starting your own Steel Soul attempt or just want to grab the original Hollow Knight while you're at it, DealNest makes that side of the hobby a lot less painful — leaving you more time for the parts that actually matter, like finally nailing that Super Jump sequence on the first try.
|
|
|
|
| 1965 Shelby 427 Cobra: The V8 Roadster That Redefined 1960s Performance |
|
Posted by: xtameembb - 09-22-2026, 06:42 AM - Forum: Introductions
- No Replies
|
|
In the 1960s, American muscle cars were built for straight-line violence. Big V8s, two-door coupes, and quarter-mile bragging rights were the order of the day. Yet one machine refused to follow the usual script. The 1965 Shelby 427 Cobra took the delicate shape of a British roadster and dropped in Ford's thundering 427 FE big-block V8. It was an odd marriage, but it worked like a charm. The result was a car that could go toe-to-toe with almost anything on asphalt in the 1960s, apart from a handful of dedicated race specials.

? A British Body with an American Heart
The story begins with Carroll Shelby, a racing driver who admired fast, expensive, and complex machines from Ferrari, Maserati, Aston Martin, and Jaguar. He wondered whether a cheaper car could be just as fast. In the early 1960s, AC Cars had lost its engine supplier, and Shelby saw an opening. He contacted AC, then called Ford to arrange a supply of V8 engines. The fact that the new car would challenge the Chevrolet Corvette helped sweeten the deal.
In 1962, Shelby created Shelby American, built the car in California, and called it Cobra—a name that reportedly came to him in a dream. Early cars used Ford 260 and later 289 cubic-inch V8s. They won on track, but the later 427 iteration became the legend. The 427 arrived in 1965 and was a different beast altogether.

? Performance That Shook the Establishment
When automotive journalists tested the new 427 Cobra in 1965, they found something extraordinary. The car cost about $7,000 and weighed only 2,529 pounds. Under the hood, the 427 big-block produced 485 horsepower and 480 lb-ft of torque in competition form, with 425 horsepower in standard tune. A four-speed manual transmission sent all that fury to the rear wheels.
The numbers were staggering for the era:
Metric
1965 Shelby 427 Cobra
0–60 mph
4.3 seconds
0–100 mph–0
14.5 seconds
0–100 mph–0, Ken Miles
13.8 seconds
Quarter mile
12.2 seconds at 118 mph
Top speed
165 mph
Price when new
$7,000
Weight
2,529 pounds
Engine
Ford 427 FE V8
Power
425 hp standard, 485 hp competition
Torque
480 lb-ft
Transmission
4-speed manual
That 0–60 mph time would have been respectable for supercars well into the 2000s. The quarter-mile run made the Cobra one of the quickest street-legal machines of its day. And 165 mph was genuinely frightening in a lightweight roadster with minimal aerodynamics.

? Chassis and Suspension Changes
The 427 was not simply an engine swap. Shelby's team made the frame tubing thicker. They replaced the transverse leaf springs—which some magazines criticized for making the car difficult to control on bumpy roads—with coil springs at all four corners. The 427 came in both street and competition versions. It was raw, loud, and demanding, but it worked.

⚔️ The Rivals: Corvette L88, Hemi Dart, and More
The Cobra did not exist in a vacuum. In the 1960s, the Chevrolet Corvette was evolving quickly. The L88 option, available across the C2 and C3 generations, brought a 7.0-liter 427 race V8, competition parts, and a distinct lack of luxuries such as air conditioning and a radio. One respected magazine quoted its quarter-mile time in the mid-to-high 11-second range. A silver L88-spec 1969 Corvette ran 11.44 seconds at the Pure Stock Drags event in 2011.
Yet the L88 was a thinly veiled competition car. It was hard to start when cold and notorious for overheating in traffic. The National Corvette Museum did not recommend it for street use. Standard Corvette 427s, by contrast, could complete the quarter mile in around 13 seconds.
Dodge also built 80 versions of the Hurst Hemi Dart LO23 Super Stock. It was street-legal and recorded a low-ten-second quarter-mile at roughly 130 mph, but it came with a disclaimer that it was only for drag racing or supervised acceleration trials. There was also the Hemi Barracuda Special Order with a race engine, estimated at a low ten-second quarter mile. On the street-legal side, the 440 Six-Pack 1969 Plymouth Road Runner A12 famously cleared the quarter mile in 12.91 seconds.

⚡ Modern Context: 2026 and Beyond
By 2026, supercars have rewritten the rules. In 2023, Car and Driver called the Ferrari 296 GTB the quickest rear-drive car it had ever tested. It hit 60 mph in 2.4 seconds and covered the quarter mile in 9.7 seconds at 150 mph. In 2022, a McMurtry Spéirling fan car reached 60 mph in 1.40 seconds and demolished the quarter mile in 7.97 seconds during filming.
Those figures make the 427 Cobra look almost tame. But context matters. The Cobra did its work with a manual transmission, skinny tires by modern standards, no traction control, no anti-lock brakes, and no electronic safety net. It asked the driver to be brave, precise, and perhaps a little reckless. That is why it still captures the imagination.

? A Legend That Refuses to Fade
Decades later, cars like the Dodge Viper were still trying to capture the magic of this legendary American sports car. The 427 Cobra was not the easiest car to live with, and it was not cheap. It was, however, a brilliant blend of British lightness and American muscle. In the 1960s, it could beat almost anything over a quarter mile. In 2026, it remains a benchmark for raw, unfiltered performance.
The Cobra's story is a reminder that great cars are not always the product of a single tradition. Sometimes, the best ideas come from a strange combination—a dainty British roadster, a massive Ford V8, and a Texan with a dream. The result was a machine that left rivals in the dust and never really left the spotlight. ??
For most enthusiasts, the closest they will ever come to a 427 Cobra at full throttle is behind the wheel of a racing simulator. Titles like Gran Turismo, Forza, and Assetto Corsa have turned quarter-mile bragging rights into something you can chase from the couch, with tire models, gearing, and weight transfer simulated down to details that would have seemed like science fiction in 1966. The hobby has grown well beyond the screen, too, as rigs, wheels, and pedals have become their own branch of car culture.
That kind of setup does not come cheap, though, and prices on titles and peripherals swing constantly. DealNest was built for exactly that problem, gathering discounts on games, hardware, and accessories into one place so you can spot a good price before it disappears. Whether you are rebuilding a library of classic racing sims or hunting for something new to test your reflexes, it is worth checking what is on offer — a quick look at the game deals today can save you enough to put toward that next upgrade.
|
|
|
|
| My Epic Quest for Silk Soar: Unlocking the Super Jump in Silksong |
|
Posted by: xtameembb - 09-21-2026, 07:12 PM - Forum: Introductions
- No Replies
|
|
I still remember the first time I stared up at a seemingly unreachable ledge in Hollow Knight: Silksong. The Abyss loomed above me, its dark tendrils mocking my feeble jumps. I had no idea that the key to breaking free lay in an Ancestral Art called Silk Soar—the Super Jump that would change everything. After hours of exploration, countless deaths, and a few choice words at my screen, I finally claimed it. Let me walk you through exactly how I unlocked Silk Soar in Silksong, so you don't have to suffer as much as I did.
The Long Road to Act 3
Before you even think about getting Silk Soar, you need to unlock Act 3 and reach the Abyss. And let me tell you, that's no small feat. The game doesn't just hand you the keys. You have to earn it.
Here's what I had to do:
Complete quests in Bone Bottom, Bellhart, and the Songclave Wishwall. These aren't just busywork; they weave into the story and open the path forward.
Collect at least 25 Fleas. Yes, 25! Those little critters are scattered everywhere, and you'll need to bring them to the Flea Caravan.
Get the Flea Caravan to move three times until it reaches the Putrified Ducts. That's right—three times. Each move unlocks new areas and eventually the Abyss.
I spent a good chunk of my playthrough hunting fleas. It felt like a game of hide-and-seek with a bunch of hyperactive insects. But trust me, it's worth it.
Descending into the Abyss
Once Act 3 is active, head to the Abyss. This place is no joke—it's dark, filled with void monsters, and the platforming is brutal. But the Silk Soar is impossible to miss because you literally need it to escape. If you find yourself stuck down there (like I did for an embarrassing amount of time), here's the route:
From the southern bench, head right into the void monster-infested area. Jump, glide, hook, and sprint your way to the right. Keep going until you hit a wall that you can climb up. Hook onto that wall, then go left a little to find some ground and gain height. Keep pushing upward until the right wall blocks you. Then cross to the left and hang onto the left wall. Now, hook onto the black bubbles—they'll boost you up. Aim right, and soon you'll see a door that requires the Needolin song. Use the Needolin to open the gate, then continue descending until you finally reach the Silk Soar skill.
I can't tell you how many times I fell into the void. The Abyss is like that one friend who keeps pranking you—relentless but ultimately teaching you something. ?
How to Use Silk Soar (Super Jump)
Once you grab Silk Soar, you'll wonder how you ever lived without it. Here's the control scheme:
Platform
Input
PC
Hold Down Arrow + S
Xbox
Hold LT
PlayStation
Hold L2
The skill needs a short charge time, so you can't just spam it while enemies are chasing you. You have to find a safe moment, hold the buttons, and then release. Hornet will soar far up, reaching heights and distances that were previously impossible. It's an absolute game-changer for exploration.
The first time I used it, I felt like I'd been given wings. The charge-up adds a bit of tension, but when you release and Hornet launches skyward, it's pure satisfaction.
Escaping the Cave and Beyond
After you obtain Silk Soar, the game immediately forces you to use it to escape the cave. It's a brilliant design choice—you get to experience your new power in a high-stakes situation. I barely made it out, but the rush was incredible.
Since unlocking Silk Soar, I've been able to access hidden areas, reach new benches, and even find some secret bosses. It's not just a mobility upgrade; it's a key that unlocks the rest of the map. As of 2026, this skill remains one of the most essential abilities in Silksong. If you're struggling to get it, take a deep breath, follow the steps, and don't give up. The Abyss may be dark, but Silk Soar is your light.
Happy soaring! ?️✨
While you're still riding the high of Silk Soar, it's tempting to dive straight into another metroidvania—or finally pick up a title you've had your eye on. If you're planning your next purchase, DealNest is worth a look: it's a handy game price tracker that collects discounts from different storefronts so you don't have to hop between tabs.
I've started using it to keep an eye on sales for games I'm curious about, and it's been a quiet little time-saver. Whether you're waiting for a price drop or just want to know when a deal pops up, DealNest keeps things simple—so you can spend less time hunting prices and more time actually playing. ?
|
|
|
|
| How I Accidentally Locked Myself Out of Silksong's Best Co-Op Boss Fight |
|
Posted by: xtameembb - 09-21-2026, 03:44 PM - Forum: Introductions
- No Replies
|
|
I've been playing Hollow Knight: Silksong since it launched, and like many of you, I tried to go in as blind as possible. No guides, no spoilers—just me, Hornet, and the vast, bug-filled world of Pharloom. But you know what? That approach bit me in the rear. I made a couple of innocent choices early on, and they ended up robbing me of what was shaping up to be one of my favorite boss fights in the entire game. Mild spoilers for Silksong ahead, so if you're still exploring, maybe bookmark this and come back later.
The Moorwing Fight: A Co-Op Dream Come True
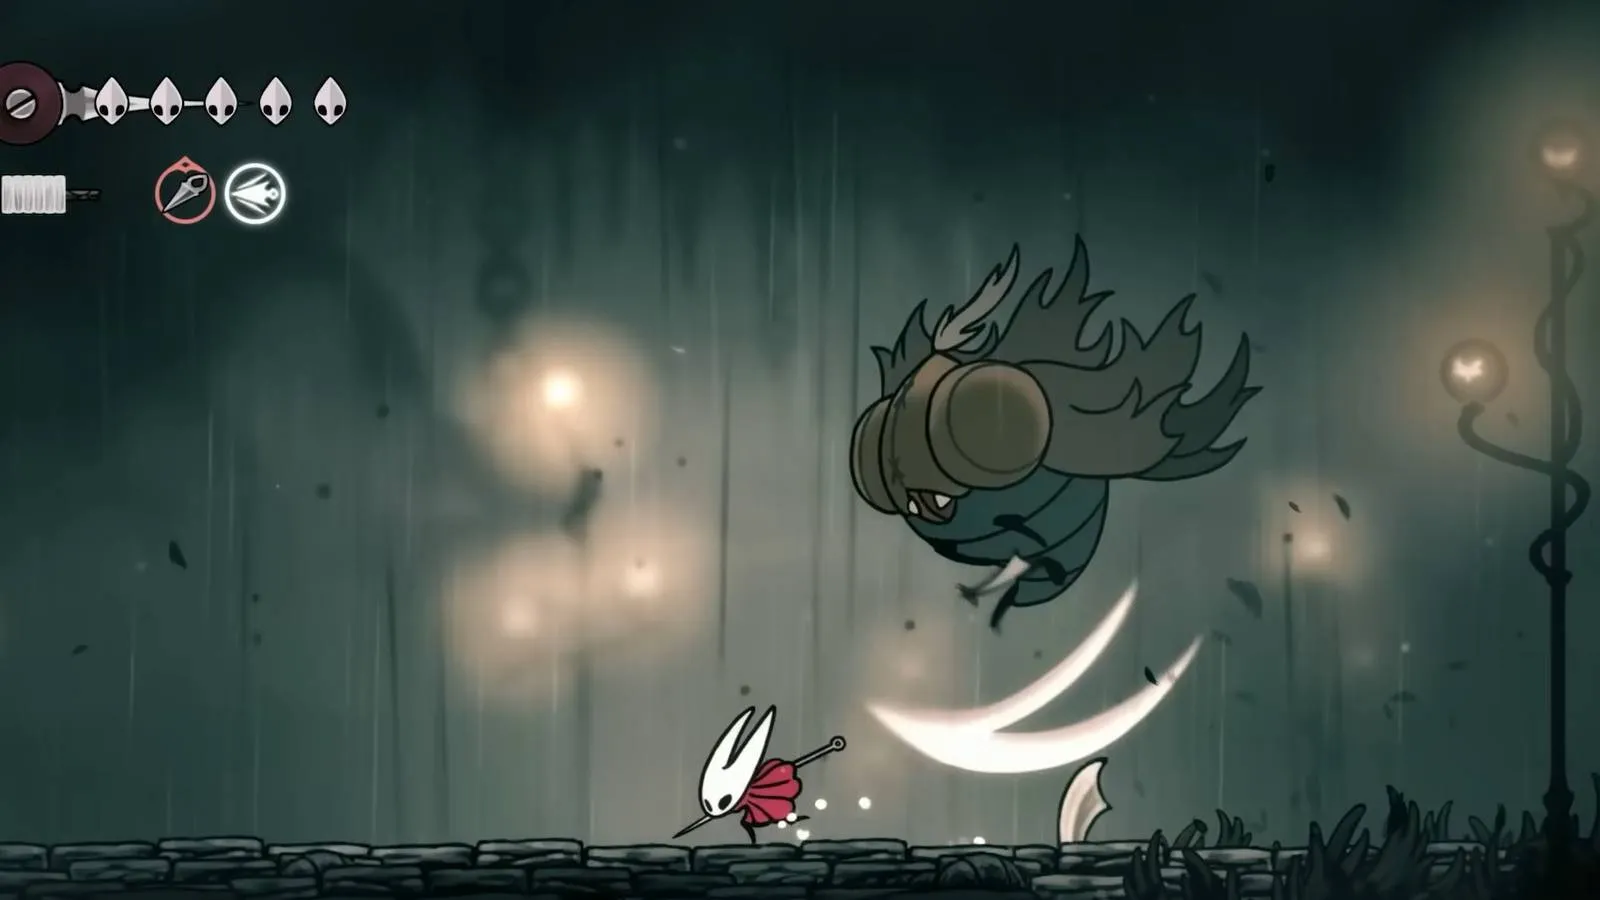
I love Metroidvanias because they let me jump from one thing to another. Silksong is such a large game that I could easily pause trying to defeat a tricky boss and go explore somewhere else for a bit. That's exactly what I did when I came across the Moorwing in Greymoor. The fight itself is fairly standard but challenging, with a wide-open arena and plenty of breathing room. The best part, though, was that I wasn't doing it alone. I had come across a mighty warrior named Garmond in Greymoor, riding atop his faithful steed, Zaza. To my surprise, the two offered to assist me in battle and did, in fact, dive into the fray headfirst.
It was such a delight to have a companion to fight with, and Garmond made such a great foil to Hornet's stoic nature. I wandered off to explore some more, planning to return to the battle after a while. I mean, who wouldn't want to savor that? But that was my first mistake.

Two Decisions, One Locked Door
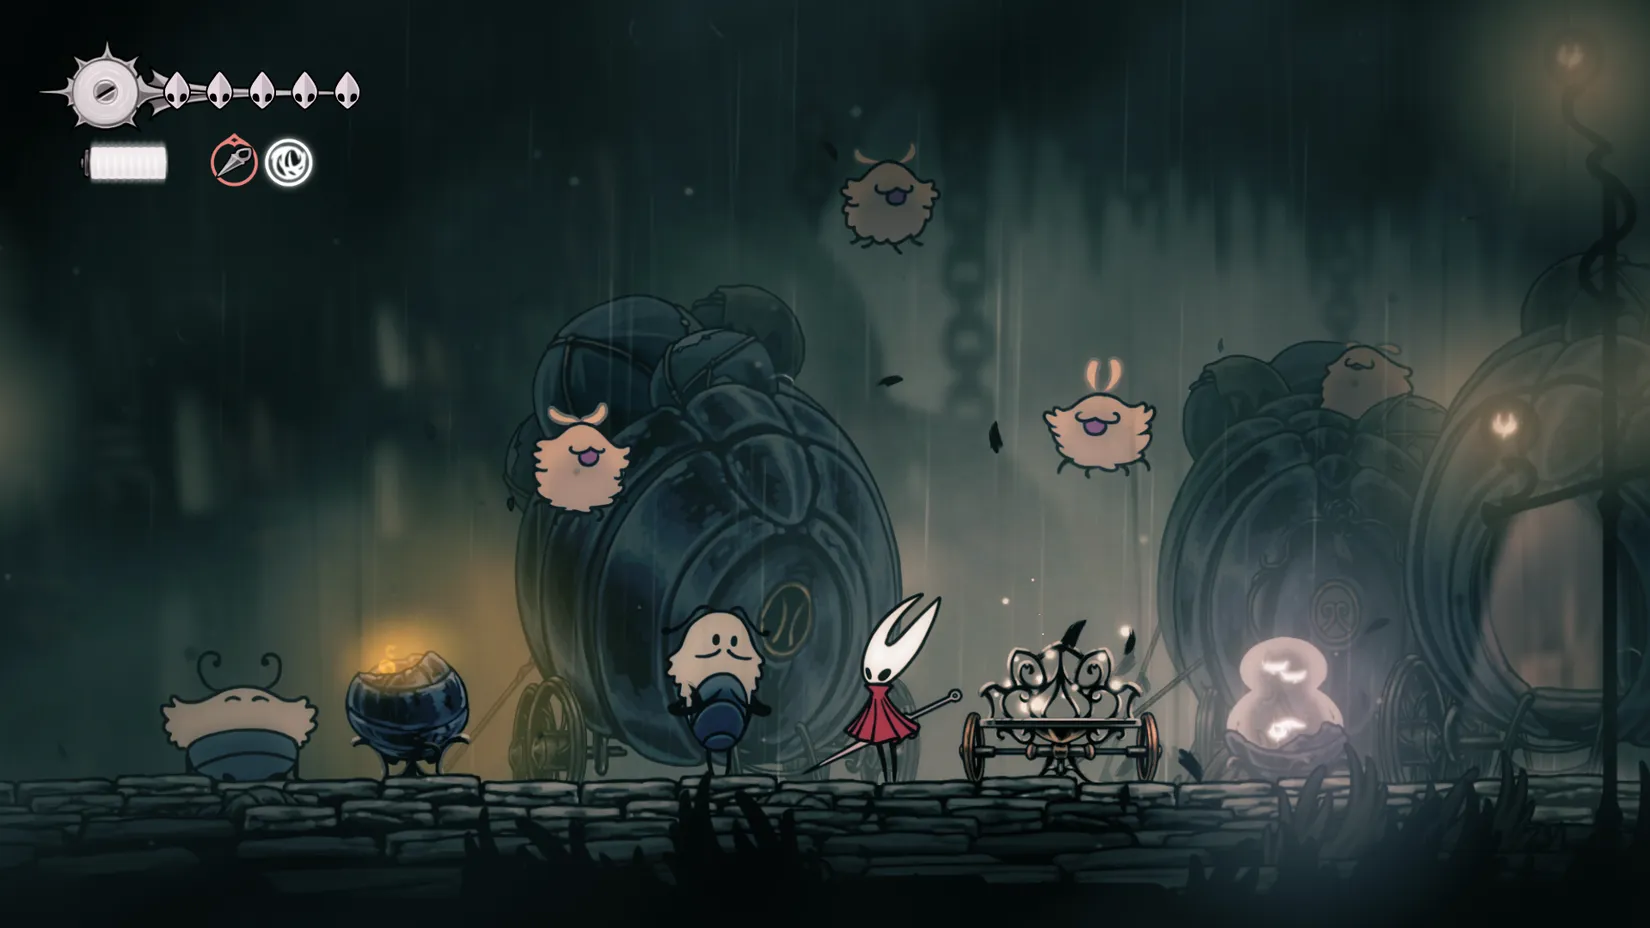
What I didn't realize is that when I gave the flea caravan the go-ahead to relocate, they would be putting up shop right on Moorwing's battlefield, rendering me incapable of completing the fight. This means that you can completely skip the fight if you relocate the caravan before you explore Greymoor. Talk about a buzzkill. I didn't even know I'd missed it at first—I just thought the boss had vanished. Nope, my own actions had sealed that door.
So, if you're like me and you missed out on the battle against Moorwing, all is not lost. According to multiple reports from players, the giant still shows up in a different location in a future act, so you still get a chance to fight it. Unfortunately, I'm not sure yet if Garmond and Zaza will be joining me for this second battle. Garmond and Zaza are still hanging out in Greymoor, offering to help me fight the nonexistent battle. While it seems that they'll still join in even if the moth moves its location, some players report being unable to get the duo to appear in the fight again, while others report never getting to continue the fight at all.
A Bittersweet Metroidvania Experience
On one hand, I still love the experience of discovering Hollow Knight: Silksong at my own pace and in my own way. On the other hand, I hope I still get to finish the fight with Moorwing, with Zaza and Garmond at my side. It's a reminder that Metroidvanias can be wonderfully cruel. The game doesn't hold your hand, and sometimes your choices have consequences you never see coming.
Here's a quick summary of what happened, in case you want to avoid my fate:
Decision
Consequence
Left the Moorwing fight to explore
Boss remained available until...
Relocated the flea caravan
Caravan parked on the battlefield, locking me out
Result
Missed the co-op fight, may have to fight solo later
And a few tips for fellow travelers:
? If you want to fight Moorwing with Garmond and Zaza, do it before relocating the flea caravan.
?️ Explore Greymoor thoroughly before making any caravan decisions.
? Co-op fights are rare and precious—don't walk away from them lightly.
As of 2026, Silksong has been out for a while, but this particular design quirk still catches new players off guard. I've seen forum posts from people who did exactly what I did, and they're just as bummed. So take it from me: if you see a giant moth and a warrior on a steed, finish the job. Don't be like me.
I'm still holding out hope for a rematch. Maybe in a future act, Garmond and Zaza will ride again. Until then, I'll keep exploring Pharloom, one mistake at a time. You know how it goes.
Mistakes like this one are exactly what push a lot of us back to the drawing board — or back into Hallownest. I've known plenty of players who, after fumbling a fight in Silksong, decide to revisit the original Hollow Knight to scratch that Metroidvania itch while waiting for a patch or a fresh playthrough. Others go hunting for something new in the same genre entirely, whether that's another moody map to get lost in or a co-op title to share with a friend instead of an NPC.
If you land in that second camp, it's worth checking whether the games on your wishlist are actually cheapest where you think they are — storefronts, regions, and sales shift constantly, and the difference is often bigger than expected. Sites like game price comparison aggregators make that quick to check before you commit, so a bad decision costs you a few clicks instead of a full-price regret. Given how unforgiving these games can be, it's nice to at least control the damage outside of Pharloom.
|
|
|
|
| Sinner's Road Survival Guide: I Got Bullied by Bugs and Found Styx |
|
Posted by: xtameembb - 09-21-2026, 03:37 AM - Forum: Introductions
- No Replies
|
|
Ah, Sinner's Road. In 2026, I still wake up in a cold sweat thinking about its water. This optional slice of upper Greymoor is Hollow Knight: Silksong's way of asking, 'Do you enjoy being miserable, or do you just tolerate it?' It is also an alternate route to Act Two, which means you can absolutely skip it. But where is the fun in that? Come with me, and let us get you from Greymoor to Bilewater without feeding every leech in the neighborhood.

What You Need Before You Suffer
Sinner's Road does not want you to be happy. It wants you to fall into leech water, lose your silk, and rethink your life choices. So pack like you mean it.
Tool
Why I Bring It
Cling Grip
Wall jumps and clinging are non-negotiable. Sinner's Road laughs at heroes who cannot hold on.
Faydown Cloak
The crucial tool for full exploration. Without it, you are just a tourist with a needle.
Clawline
Helpful for traversal, especially when the floor is lava, except the lava is leeches.
Drifter's Cloak
Shows up later for one very specific glide into a spike pit. Bring it if you have it.
Between you and me, if you are missing the Faydown Cloak, turn around. This area will still be here when you are stronger, and your controller does not deserve that kind of abuse.
Reaching Sinner's Road
First, hitch a ride to Greymoor on the Bellway. Once you arrive, exit the station and head into Greymoor. Scale the wall to your right, then exit at the top floor. Keep heading right until you reach a switch for an elevator. Jump on it, then ride it to the top.
Exit the elevator, then jump on top and head to the platforms on the right. Pogo off the floating balloon or use the Faydown Cloak, making your way to a series of platforms that go up. Follow the path up to the right, wall jumping until you find an entrance. Step inside, and welcome to the worst spa day of your life. ?️
Exploring The Depths
Inside the first room of Sinner's Road, you will meet the area's most fearsome enemies: Muckroaches. They are aggressive, fast, and have a nasty grab attack. My best advice is to jump over them when they do their grapple, telegraphed by a roar, then slice them up. The Muckroaches have the emotional intelligence of a slammed door, so do not try to reason with them.
Before you leave, take note of the Green Prince locked in the cage. More on him later.
Make your way to the next room on the right, where you have a few options. I advise heading up first, so make your way up using wall jumps. Mind the floating enemy who chucks throwing stars at you. It is possible to swipe these right back at him, but otherwise dodging and jumping up to attack from below works great.
Make your way to the left, then jump up into the alcove. Inside, you will find a gap with a swinging spike ball. Double jump or pogo over, where you will find a bench and Shakra. Buy the map from her, then follow a good bench-fixing guide. Take a rest, then return outside. Shakra is the only reasonable adult in this nightmare, so appreciate her.
Return to where you fought the throwing star enemy, then head to the open door on the right. Try not to fall into the water here, as it is full of leeches that will consume your silk, making it impossible to use skills or heal. The leeches are tiny pickpockets with a grudge.
Make your way across, which is easier if you have come equipped with the proper traversal tools. Note the locked door at the far end, then proceed up, using the cages and spiked balls to pogo up.
Once you reach the top left platform, take a running leap to the right, then double jump and glide over. Enter the tent, where you can accept a quest to obtain ten Muckroach guts. The reward is a new offensive tool known as Tacks, which are quite handy. Return outside, then head back to the farthest left platform. Drop into the pathway, then unlock the door by hitting the switch underneath. This leads you back out to the main shaft.
Find Styx
Head all the way up, using the pogo and your double jump, then head into the top area. Open the path on the right, then head up. Make your way across the platforms, avoiding the big chain-wielding enemies and Muckroaches below.
Enter into the next area on the far right, which is a large vertical room that has rooms at the top and bottom. Let us go up first.
Kill the buzzing swordsman, then maneuver your way through a cramped corridor of spikes. Wall-jump along the safe locations, then duck into the path on your left. Follow that up, then engage with the mini-boss. He is strong but slow, so simply jumping over him and slicing him from behind works wonders. He will drop a small key, which you should hang on to for a moment.
Make your way back down, then all the way to the door on the bottom right. Leap across the gaps, finding your way to one that descends into a spike pit. Glide down with the Drifter's Cloak, taking note of two Muckroaches guarding an intriguing area. Take them out, then speak to the entity that appears. This is Styx, and he will grant you rewards over the course of the game as you come back. Finally, someone in this place who does not want to eat me. ?
Escape Into Bilewater
Now, it is time to make your way back to the area where the Green Prince was locked in a cage. Open the cage, then head directly to the right on the bottom path.
This is a perilous room, so be careful of both Muckroaches and flying swordsmen. Once you reach the end of the room, take the path down, then drop into the chamber below. At the bottom, you will find the Barbed Bracelet. This item will increase your damage output, but also increase damage taken. Once you have gotten that, you are ready to escape.
Return to the large vertical room, then find the middle exit. You will have to drop through a broken cage, but once you reach this, you will be able to exit into Bilewater and escape Sinner's Road. Congratulations, you survived. I am not saying I cried, but the bench and I had a moment.
Final Sinner's Road Tips
Do not panic in leech water. Panic costs silk. Silk costs healing. Healing costs dignity.
Pogo everything. Cages, spike balls, floating balloons, your own bad decisions. If it exists, bounce off it.
Buy the map from Shakra. Getting lost here is like being lost in a haunted filing cabinet.
Save the Green Prince for later. He is not going anywhere, and neither are the Muckroaches.
Grab Tacks and Barbed Bracelet. One makes you throw sharp things. The other makes everything sharper, including your own incoming damage.
And that is Sinner's Road in 2026: still rude, still damp, still full of bugs that want to wear your shell as a hat. Pack your Cling Grip, bring your Faydown Cloak, and remember: if you can survive this, you can survive anything Silksong throws at you next. Probably. Maybe. ...Okay, definitely not, but at least you will have Styx.
Surviving a place like Sinner's Road is as much about patience as it is about reflexes, and the same mindset applies when you are hunting for a good bargain. Whether you are stockpiling gaming gear, accessories, or just looking for something to soften the sting of a long session, it helps to have a spot that cuts through the clutter instead of wasting your time. That is exactly the approach DealNest takes, gathering worthwhile offers in one place so you can spend less time scrolling and more time actually playing.
|
|
|
|
| Lifting the Silken Curse: My Journey Through Bellhart in Silksong |
|
Posted by: xtameembb - 09-21-2026, 12:08 AM - Forum: Introductions
- No Replies
|
|
As a seasoned Hollow Knight veteran, I dove into Hollow Knight: Silksong expecting a challenge. But nothing prepared me for the eerie sight of Bellhart, where every resident and pilgrim bug was strung up by silken threads. ?️ My attacks did nothing to free them, and my quest log updated with a clear directive: free the citizens from the Silken Curse. This is the story of how I found the culprit, defeated a terrifying boss, and restored the town to its former glory.
Prerequisites for the Curse Quest
Before you can even think about breaking the curse, you need to meet a few requirements. Trust me, I learned this the hard way after wandering around aimlessly. ?
Travel to Greymoor: You can get there via the traveling Flea Caravan after completing their lost fleas quest, or by traversing from the bottom pathway.
Speak to the Bell Hermit: In the bell beast pathway, break the right wall and head downward to find the hermit, who gives you crucial information.
Have the Shellwood Map: At least partially filled out. This helps with navigation.
Unlock Cling Grab: You'll find this ability in Shellwood. It's essential for scaling walls later.
Oh, and here's a fun easter egg: if you rest on the bench in Bellhart and exit the game, when you return, Hornet will be strung up too! But don't worry, you can attack to break free. ?

How to Traverse Above Bellhart
Once you're ready, you need to find a path from Shellwood back into Bellhart and then destroy your way into the ceiling tunnels above the town. This is where the Cling Grab ability shines. You'll be scaling walls, avoiding bell bugs, and breaking through bell barriers.
I started at the map location nearest the bench on the upper left pathway. From there, I parkoured from left to right onto the next path where the lake begins. Make sure you take the top path – the second path won't get you into Bellhart from above. After passing the lake, I maneuvered upwards using Cling Grab onto a platform with bells at its entrance. Enter and start breaking down the bell barriers to clear a long tunnel until you reach a new map piece in the upper levels of Bellhart.
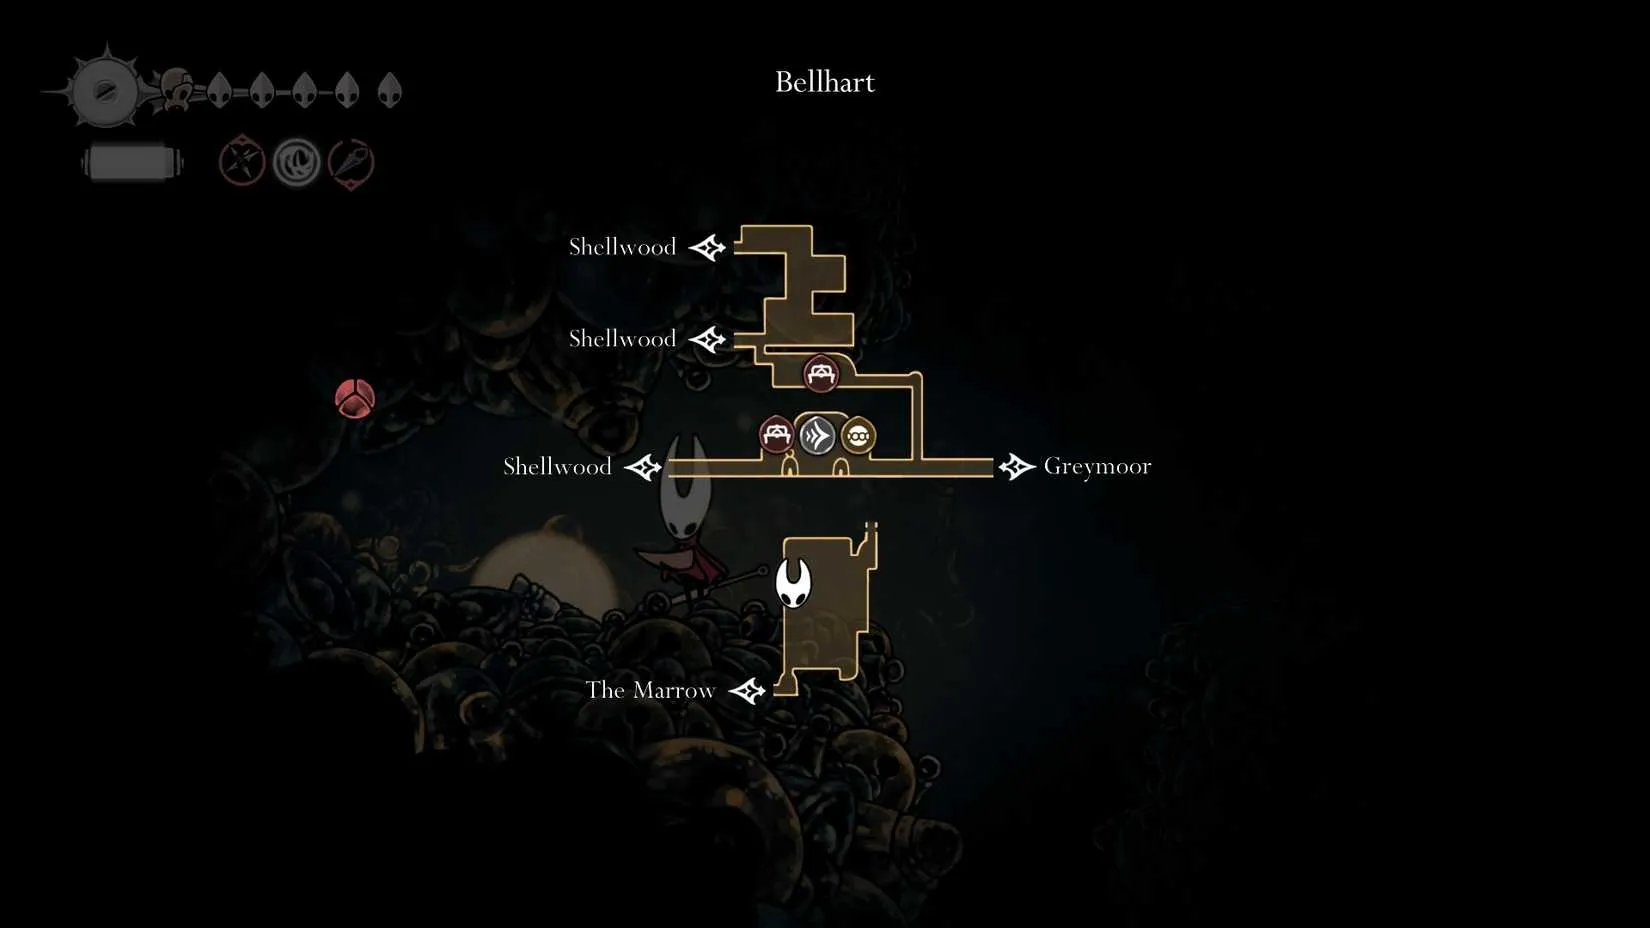
As I moved through the tunnels, I killed any bell bug enemies along the way. The path down contains large flying bell bugs. You can hit them from the platform, or do what I did: wait for them to fly up, then lay traps to catch them on the way down. This made descending much easier.
Then I traversed downward through another shaft. This time there were two. Instead of traps, I waited until the two enemies met each other before jumping down and swiftly running into the nearest left path. Continuing left, I came to an opening in the ground and jumped in. I healed up, then dropped into a new room covered in clumps of threads. That's when I triggered a dialogue cutscene with the Weaver behind the Silkspun curse: Widow. After she finished talking, I was plunged into a boss fight.
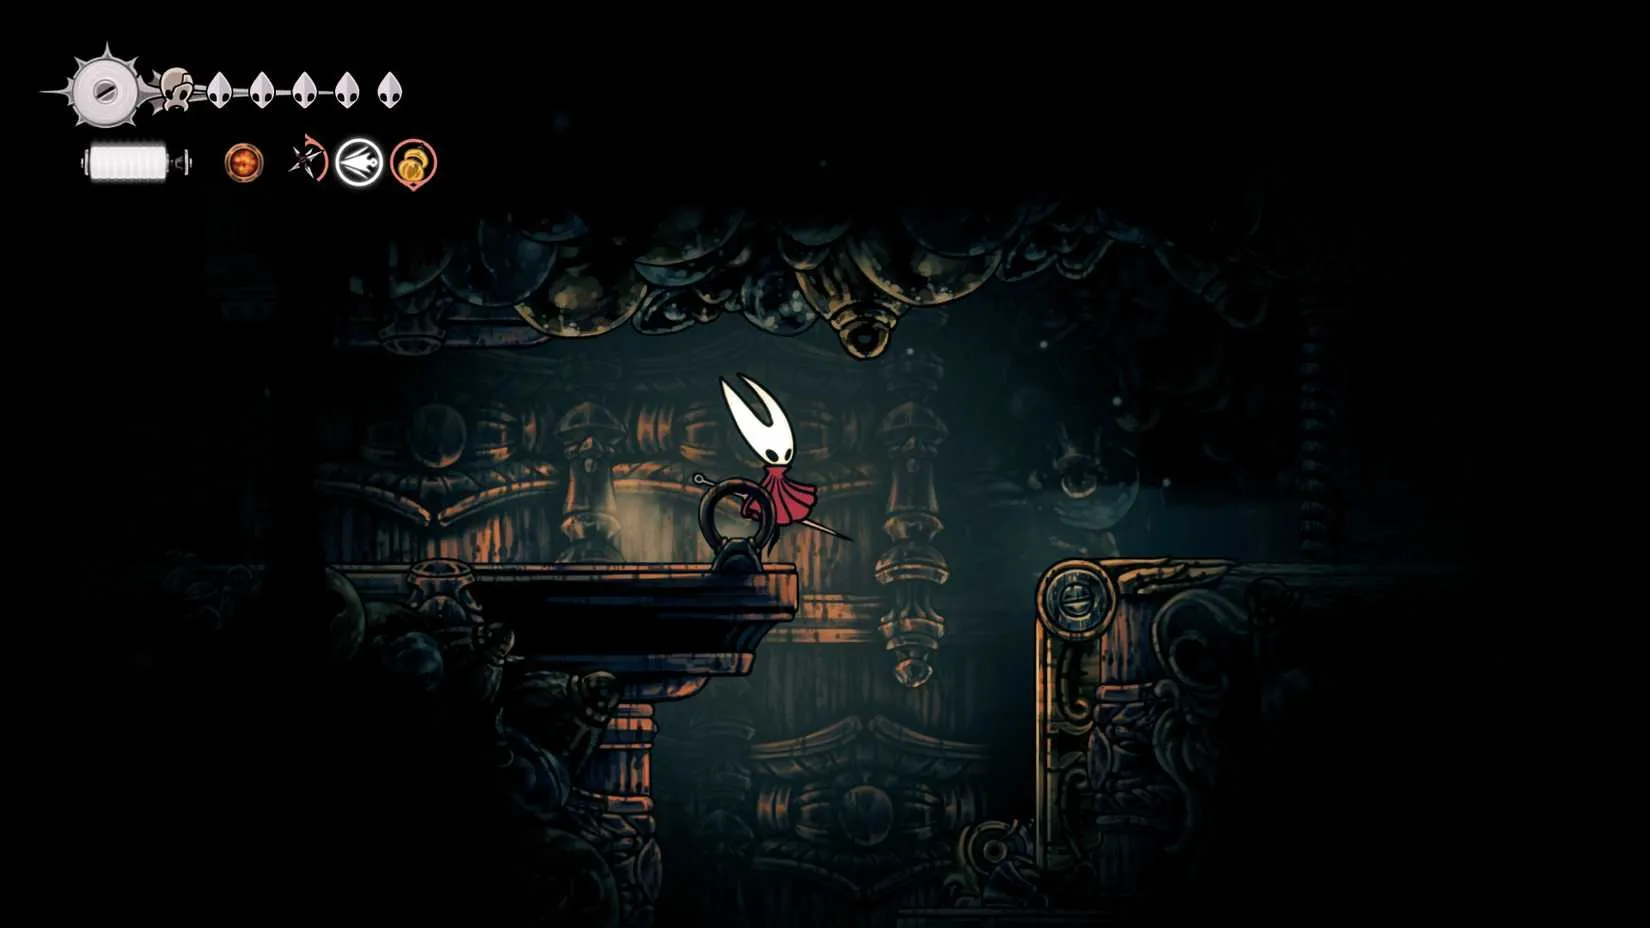
Boss Fight: Widow
Preparations
Before the fight, I made sure to equip the right tools. Here's what I recommend:
Ability: Silkspear – This slices through Widow's silk traps easier. Use it sparingly to save silk for healing.
Crest: Reaper Crest – Restores silk quickly, allowing more Silkspear uses. Combined with Druid's Eye, you get a minor stack of silk replenishment.
Tools:
Fractured Mask: Shields against critical damage but shatters on impact.
Druid's Eye: Replenishes silk upon getting attacked.
Sting Shard: Lethal trap of tightly bound blades that pierces enemies.
Flea Brew: Temporarily increases movement and attack speed.
Pollip Pouch: Applies poison to equipped tools.
Phase 1
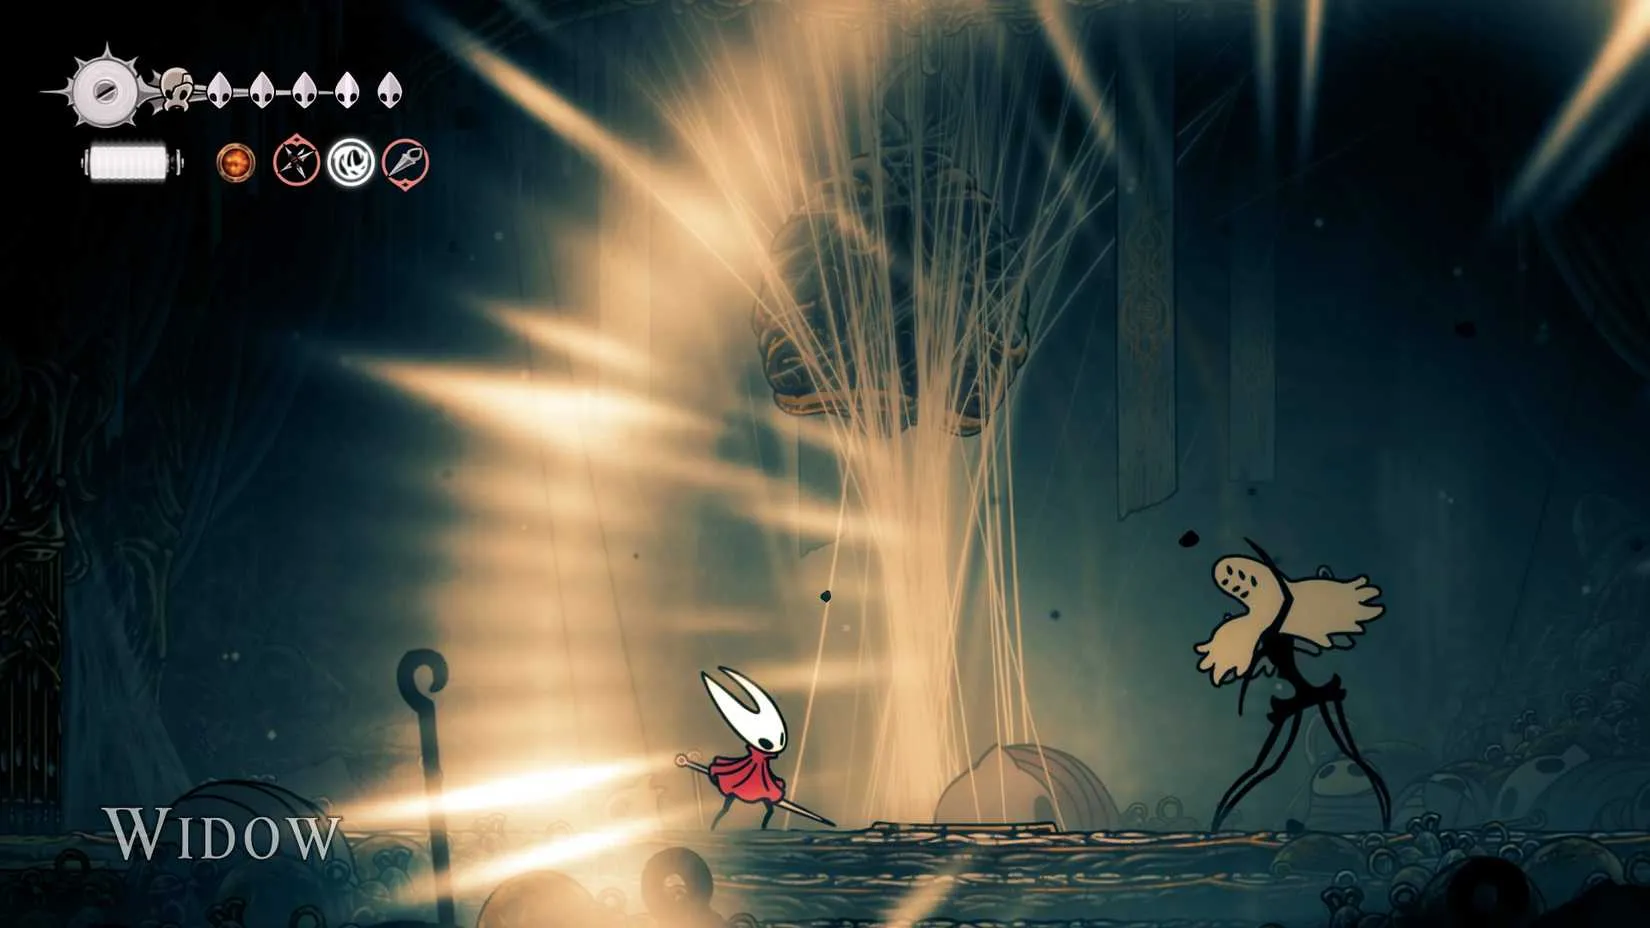
Widow shrieked to begin the fight, and immediately her hand glowed as she lunged at Hornet. This is a grab attack – I jumped over her and glided or swift-stepped out of reach. I followed the boss and whacked her with a downward pogo strike before she disappeared temporarily to the side of the wall. She reappeared crouch-walking and dispensing threads across the screen. I moved to the wall and avoided the threads as they yanked up bells from below.
Bells erupted from the ground, pushing Hornet up and dealing two masks of damage if hit. I simply jumped when I saw the ground moving and glided in the air until it returned to normal. Widow pulled on threads to fire bells from the ceiling at Hornet. This was my chance to attack, as she wouldn't move from her spot for a few minutes before repeating her earlier attacks. Once she was staggered, I unleashed as many heavy attacks with my needle as possible until Phase 2 began.
Phase 2
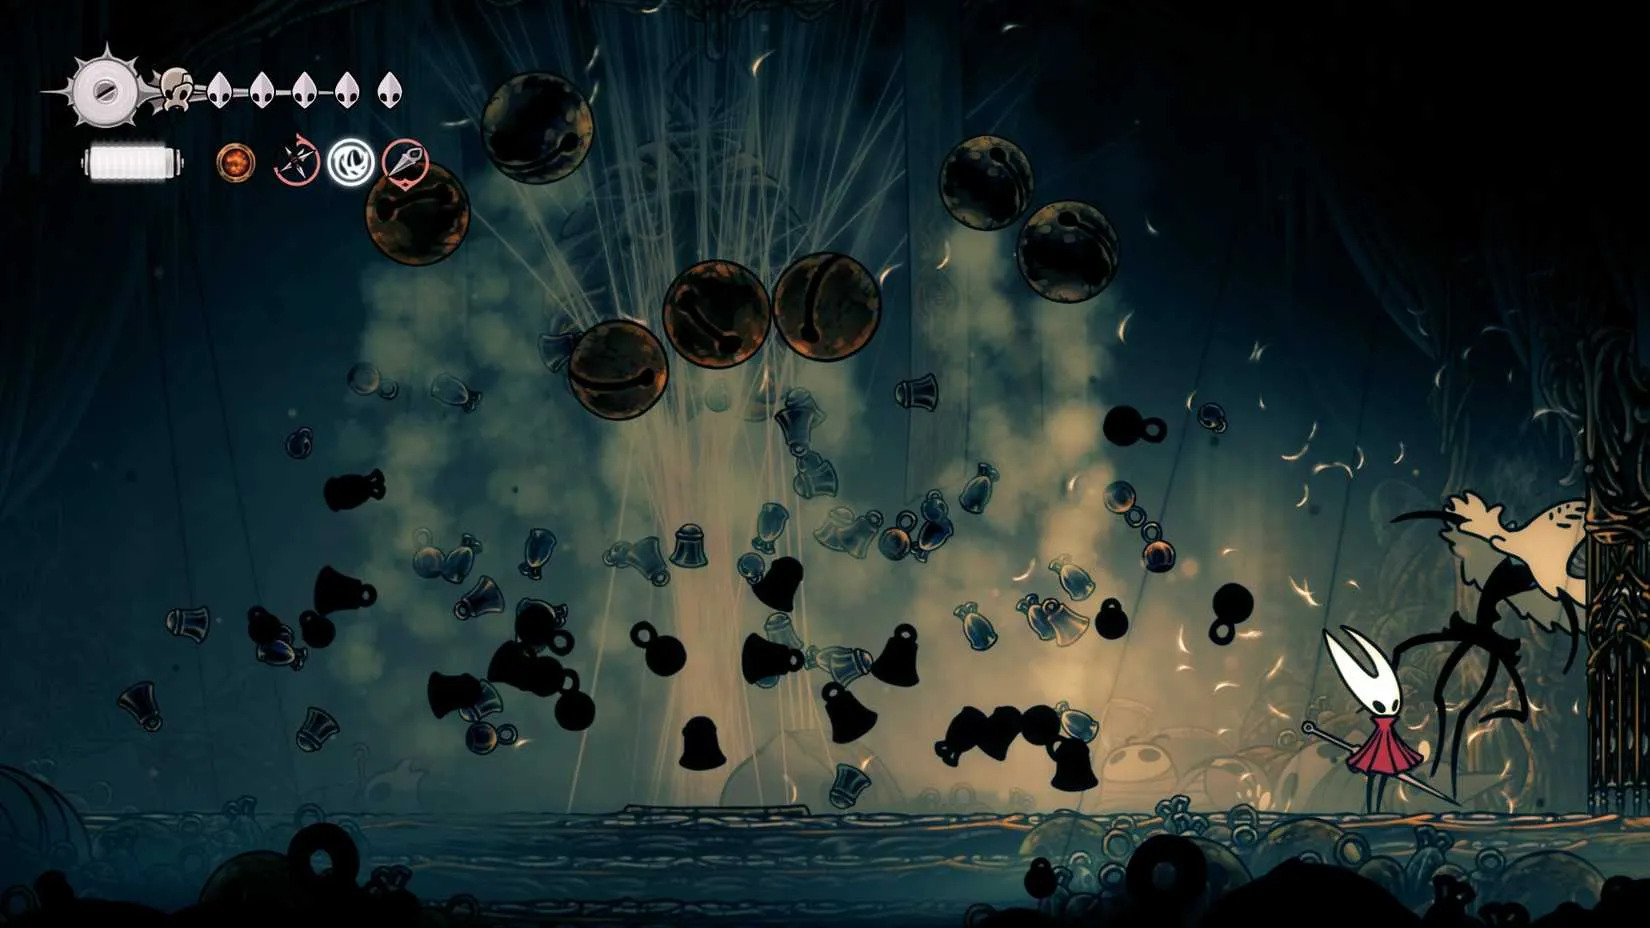
In Phase 2, Widow sent a barrage of bells and debris down on Hornet. I kept to the left, or if I was confident, went straight to Widow and attacked, preparing to jump over her. During this phase, Widow dispensed thick threads across the arena. I used Silkspear to slash through multiple at once, saving time and damaging Widow in the process. Most of her attack patterns remained the same, but patience was key when waiting for an opening – the bells caused more health loss than intended if I wasn't careful.
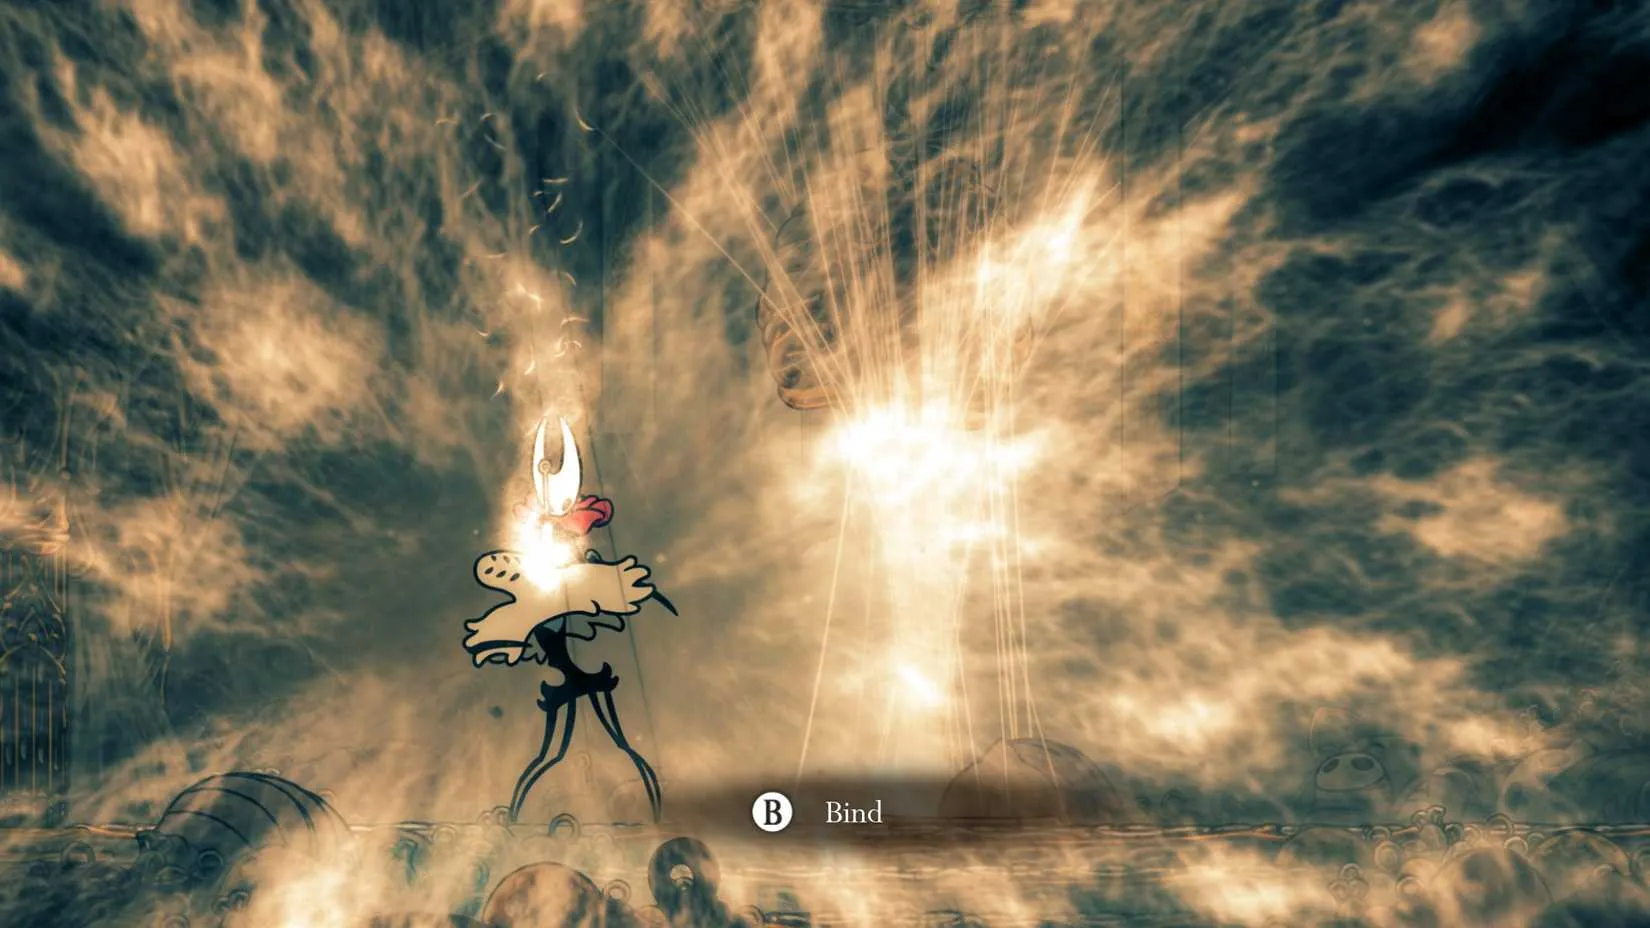
I needed to stagger Widow twice more before Hornet grabbed onto her from above. Once the prompt to bind appeared, I quickly pressed down to end the fight. I obtained a piece of silk weaver lore and the new silk ability, the Needolin.
Silken Curse Lifted
With the curse lifted, I continued back downwards and re-entered Bellhart to meet the bugs I rescued, along with some returning characters. The town felt alive again! ?

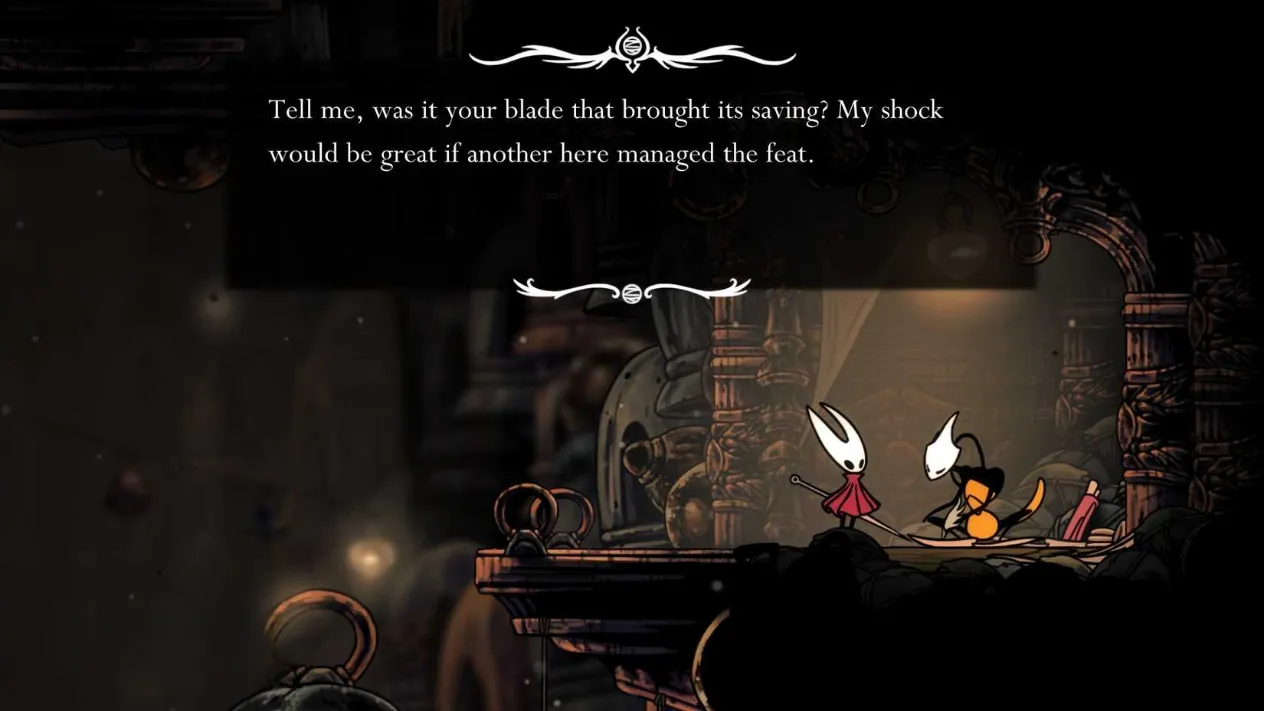
Shakra's Return: Shakra asked if Hornet was responsible for lifting the curse, then commented on my accomplishments. Her shop inventory is now ready for map-making essentials.
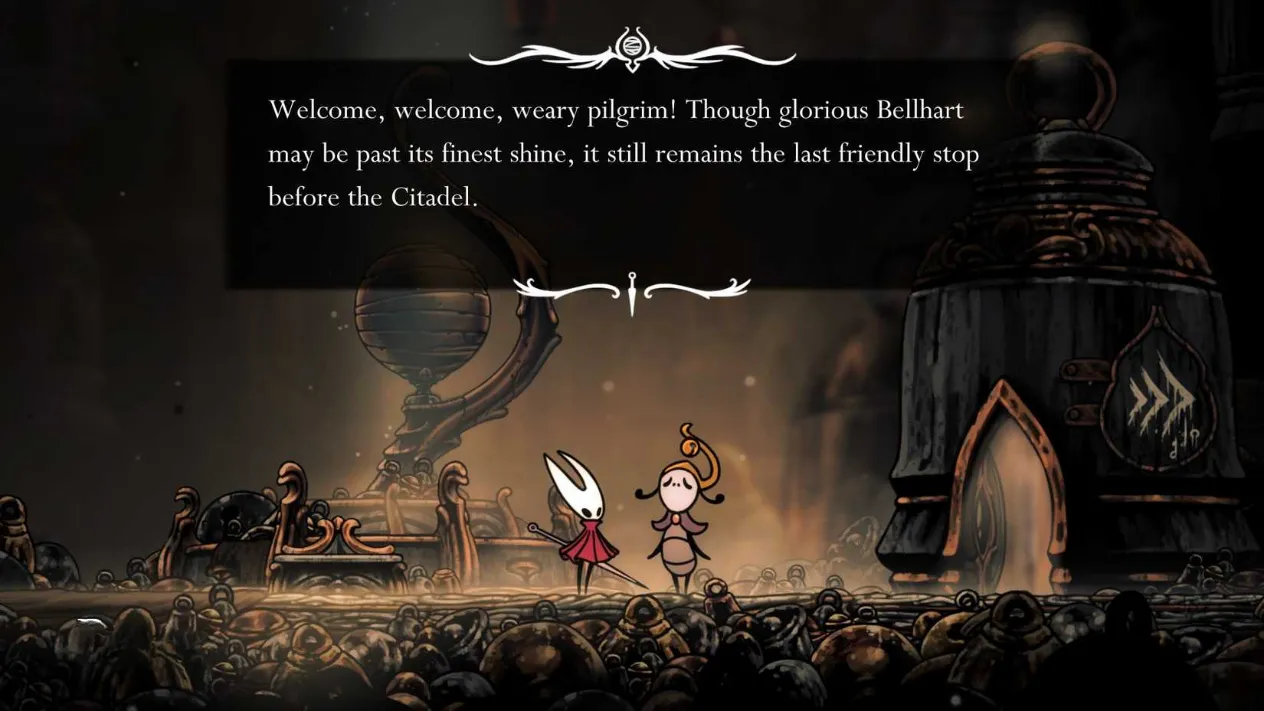
Pavo: The official welcomer of Bellhart has a wish on the board for donations to restore the area. They praised Hornet and now accept new pilgrims while watching the town's revival.
Frey: A shopkeeper who hid in their shop and devoured most of their stock. They won't open until you find their lost courier. Complete the request to access the shop.
Plinney: A pinmaster who protected himself in his shop. He sharpens Hornet's needle for free and offers a location for pin oil within The Citadel in a new wish request.
Scrounge: A relic seeker who requests any relic with Pharloom history. Return anytime to grow their collection and learn about each item.
Sherma's Return: Sherma made it to Bellhart, unaffected by the curse and cheerful as ever. You can perform with your Needolin alongside him and Pavo nearby.
With the residents free, I unlocked a new achievement called Fanatic and gained a new main town area to frequent. Now I can progress to the rest of the game. If you're stuck on the Silken Curse, I hope this guide helps you free Bellhart and enjoy the vibrant community that emerges. Happy hunting! ?
That same patience you practice while waiting for the right opening in a boss fight pays off outside of Pharloom too. Anyone who hunts down gear, collectibles, or a long-awaited game on sale knows the feeling of watching a price for weeks before finally pulling the trigger — and it's a lot easier when something else does the watching for you.
If you'd rather not refresh store pages by hand, this price tracking tool from DealNest keeps an eye on listings and lets you know when the number actually drops, so you can spend your time playing instead of comparison shopping. Whether you're restocking your setup between sessions or waiting out a discount on that one title you've been eyeing, it's a handy companion for anyone who likes to buy smart.
|
|
|
|
| Hollow Knight: Silksong Map Guide - All 28 Maps and How to Get Them |
|
Posted by: xtameembb - 09-20-2026, 11:29 PM - Forum: Introductions
- No Replies
|
|
Hey there, fellow wanderer! Have you ever found yourself lost in the twisting corridors of Pharloom, wishing you had a map? I know I have. In Hollow Knight: Silksong, there are 28 maps to collect, and let me tell you, they make all the difference. Whether you're buying from Shakra or hunting down hidden devices, this guide will help you become a master cartographer. So, grab your needle, and let's dive in!
First things first: Shakra. She's that fierce warrior you'll hear singing or see leaving a trail of Throwing Rings. You can buy half the maps from her. But from Act 2 onward, you'll also find maps by interacting with strange devices or picking them up in map rooms. If you're short on Rosaries when you first meet her, don't worry—you can always buy the map later when you run into her again. Just be prepared to navigate without one for a while, which can be tricky!
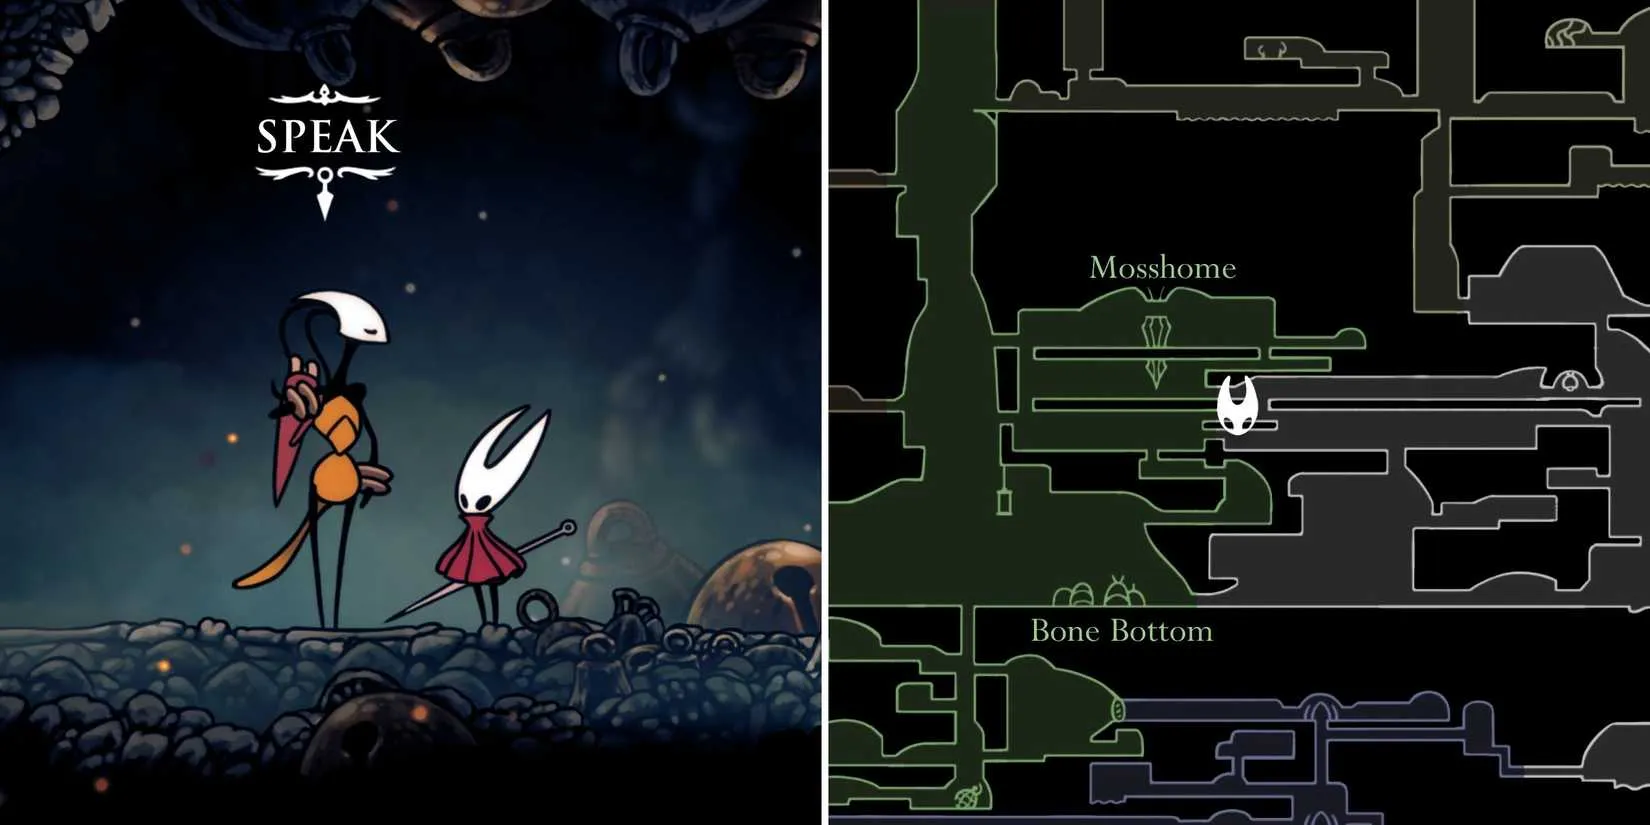
Now, let's break down all 28 maps. I've organized them into a handy table so you can quickly find what you need. Remember, the prices are in Rosaries, and the locations are relative to landmarks like benches or Bellways.
Map
How to Obtain
Cost (Rosaries)
Location
Bone Bottom
Buy from Shakra
40
NW part of The Marrow
The Marrow
Buy from Shakra
50
Near bench in NW part
Deep Docks
Buy from Shakra
50
East of Deep Docks Bellway
Far Fields
Buy from Shakra
50
Cave SW of Far Fields Bellway
Wormways
Buy from Shakra
70
East side, upper path from Moss Grotto
Hunter's March
Buy from Shakra
70
East side, east of path down to Deep Docks
Greymoor
Buy from Shakra
70
Eastern part, west of Craw Lake
Verdania
Find on bug corpse
-
Small camp in SE part
Bellhart
Buy from Shakra
40
Lower Shellwood, beneath Greyroot's hut
Shellwood
Buy from Shakra
70
Lower part, beneath Greyroot's hut
Blasted Steps
Buy from Shakra
70
Eastern part
Sinner's Road
Buy from Shakra
90
Near bench on NW side of central shaft
The Slab
Find on bug corpse
-
Cell east of bench in center
Mount Fay
Buy from Shakra
40
Near bench in lowest part, near path to The Slab
Sands of Karak
Buy from Shakra
90
Chamber on western side of central shaft
Bilewater
Buy from Shakra
90
Center, NE of Bilewater Bellway
Weavenest Atla
Inspect device
-
NE part; head right from Needolin door, break two glowing orbs, inspect device in left chamber
Grand Gate
Inspect machine
40
Central part
Underworks
Interact with map
-
Small chamber on western side of central shaft, above first bench
Whiteward
Inspect machine
70
Area south of only bench
Choral Chambers
Inspect machine
70
Area east of Grand Bellway
High Halls
Inspect machine
70
Area east of path up from Choral Chambers
Whispering Vaults
Inspect machine
70
Hidden chamber at top of central shaft
Cogwork Core
Step on button
-
Hidden area above foldable bench, beneath NW passageway into Choral Chambers
Memorium
Inspect machine
70
Map room in SE part
Putrified Ducts
Inspect table
-
Room on west side of central shaft, SW of Putrified Ducts Bellway
The Cradle
Inspect machine
70
Alcove on west side
The Abyss
Inspect device
-
Secret area above bench in lowest part
As you can see, Shakra is your go-to for many maps, but you'll also need to keep an eye out for other opportunities. I remember the first time I found a map on a bug corpse—I was so surprised! It just goes to show that exploration always pays off.
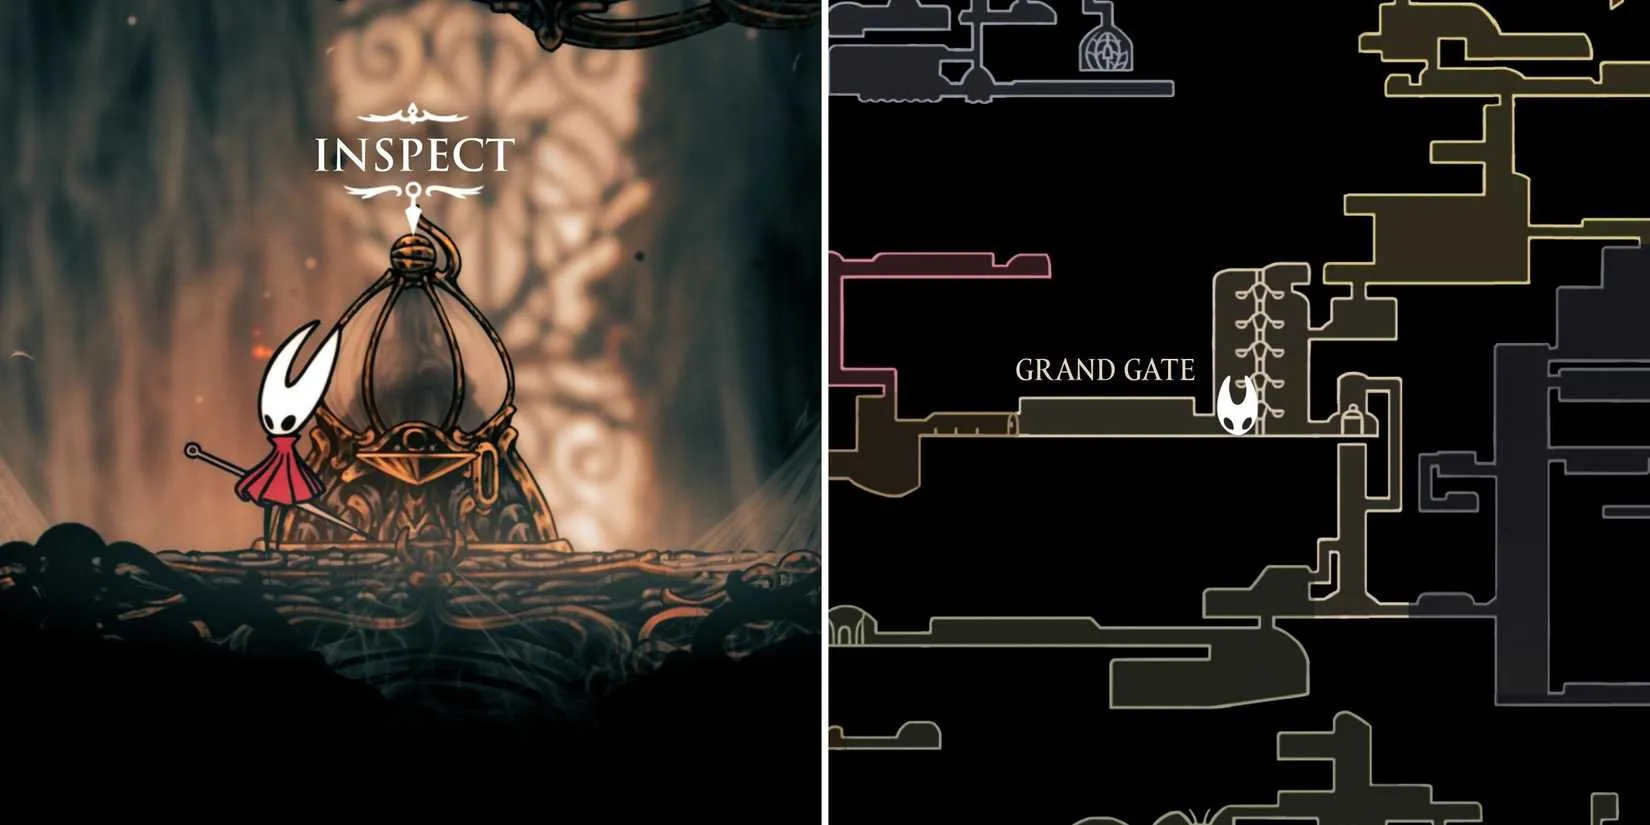
A few tips from my own journey: Always buy maps when you can, because backtracking without one is a nightmare. Also, keep an eye out for glowing devices and bug corpses—they often hold maps. And don't forget the Cartographer achievement! Collecting all 28 maps will reward you with that shiny trophy.
Now, let's talk about the Act 2 shift. In the first act, you rely heavily on Shakra. But once you hit Act 2, you'll start finding maps in map rooms or from strange devices. It's a nice change of pace, and it encourages you to explore every nook and cranny. Have you ever stumbled upon a map machine by accident? I know I have, and it felt like winning the lottery!

One thing to keep in mind: some maps, like the Weavenest Atla map, require a bit of puzzle-solving. You'll need to break glowing orbs and inspect devices. Others, like the Cogwork Core map, just need you to step on a hidden button. It's always a good idea to poke around every corner.
So, there you have it. With this guide, you'll never be lost in Pharloom again. Happy mapping, and may your journey be filled with discovery! And remember, if you ever feel overwhelmed, just take a deep breath and ask yourself: what would Shakra do? Probably sing and throw rings, but you get the idea.
Once you've charted every corner of Pharloom, you might find yourself craving another world to explore. Whether you're eyeing a new Metroidvania or revisiting an old favorite, keeping track of sales across different storefronts can be a chore. That's exactly why I started using a game price comparison tool—it saves me from missing out on good deals.
DealNest is one of those sites that makes the hunt almost as satisfying as finding a hidden map. It aggregates prices from multiple retailers, so you can see at a glance where a game is cheapest. If you're planning your next purchase after Silksong, give it a look.
|
|
|
|
| Conquering High Halls: A Pilgrim's Guide to Silksong's Deadliest Gauntlet |
|
Posted by: xtameembb - 09-20-2026, 04:59 PM - Forum: Introductions
- No Replies
|
|
The pilgrim had heard the stories long before she ever laid eyes on the golden rings of High Halls. Every hall in Pharloom carries a song, the old travelers said, and the High Halls carry the cruelest one of all — a melody stitched together from spinning rings, spike-filled shafts, and an eleven-wave slaughter that has broken more wanderers than any crowned boss ever managed. In a kingdom of twenty-eight biomes, this one, hidden above the Choral Chambers, remains the place where ambition goes to die.
But she was stubborn, and stubbornness, in Pharloom, is a kind of currency.
The Long Road to the Golden Rings
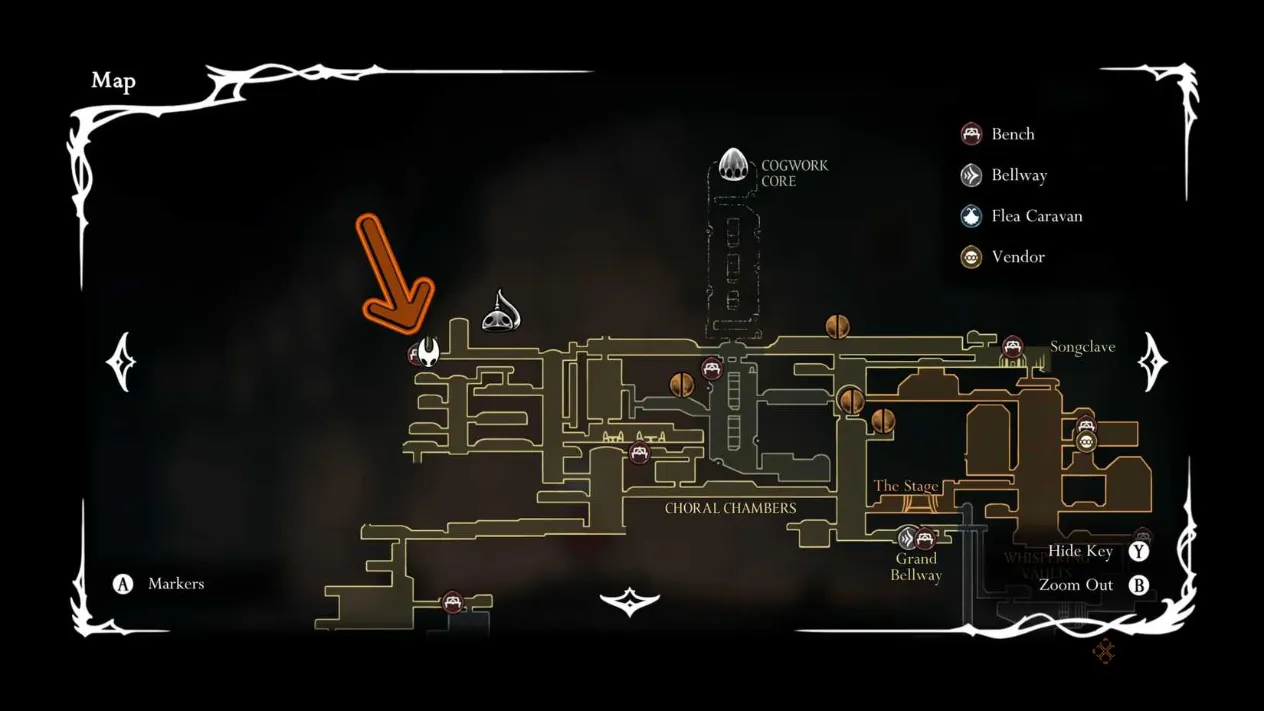
Before the pilgrim could even think about stepping inside, she needed the Clawline — a tool she could only claim in the Underworks, the grim industrial sprawl that opens up after Trobbio falls. That alone took her longer than she cared to admit. Once the hook was finally hers, the path revealed itself at the top left of the Choral Chambers. Those who have not yet unlocked the route can find it by passing through the Cogwork Dancers' arena and pressing left until a lonely bench appears at the very edge of the map.
To the right of that bench hangs a ring. She leapt, hooked, and rose. More rings followed, some of them willing to carry her upward like patient elevators. The entrance to High Halls waited on the right — and it was only the beginning.
Dancing With Rotating Rings
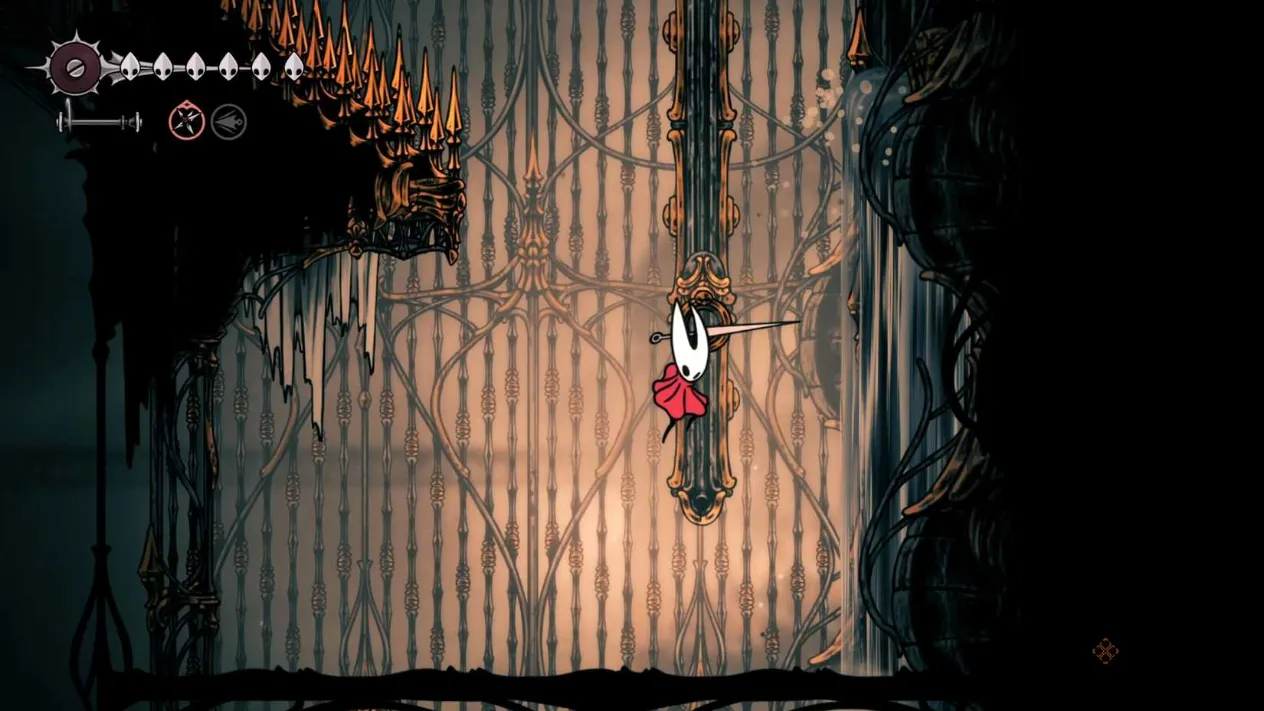
Her first steps inside were deceptively simple: jump, Clawline to the platform on the right, repeat, and cut down whatever stood in the way. Then came the rotating mechanisms, their rings orbiting like the teeth of some colossal clock. The trick, she learned after two painful falls, was patience — waiting for a ring to swing to the bottom before jumping and hooking it, riding it to the apex, then leaping to the rings on either side and using Cling Grip to haul herself higher.
A Minister died at her needle there. She climbed the left wall to the top-right exit and pressed on into a room that mirrored the first, except that two more Ministers spawned the instant her feet touched the next platform. She learned to dread that sound — the soft chime that means something new has noticed you.
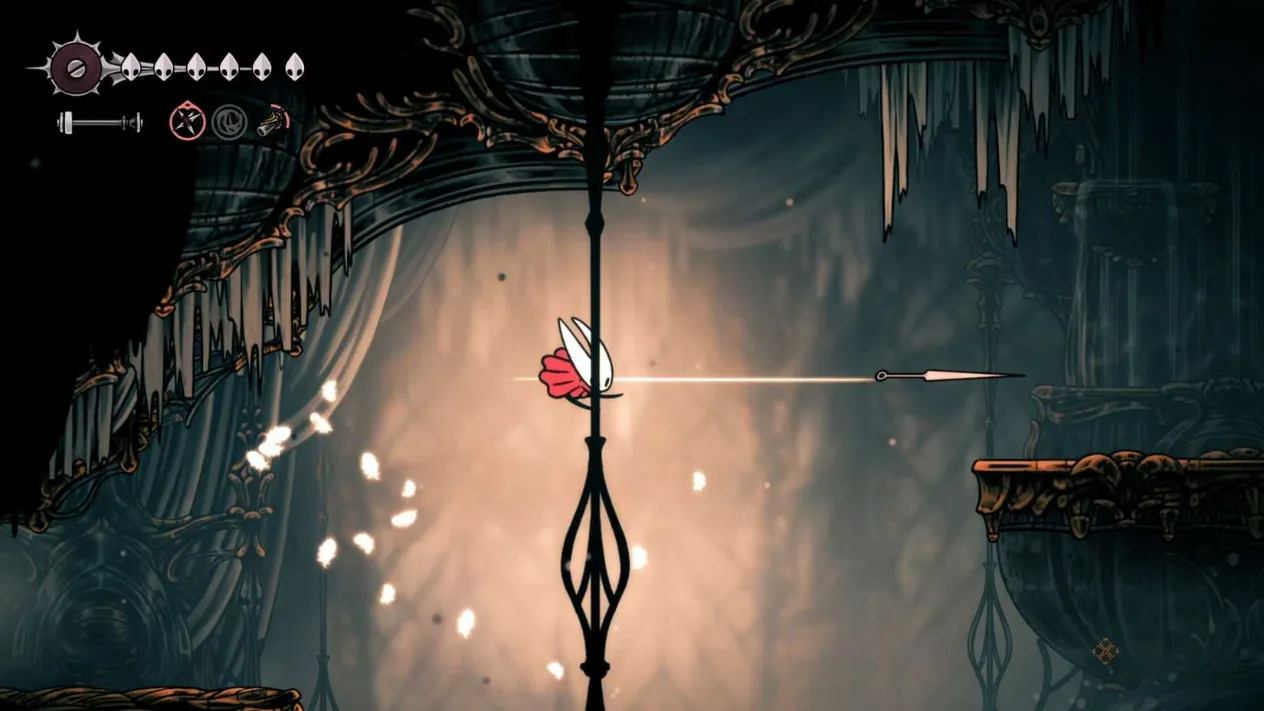
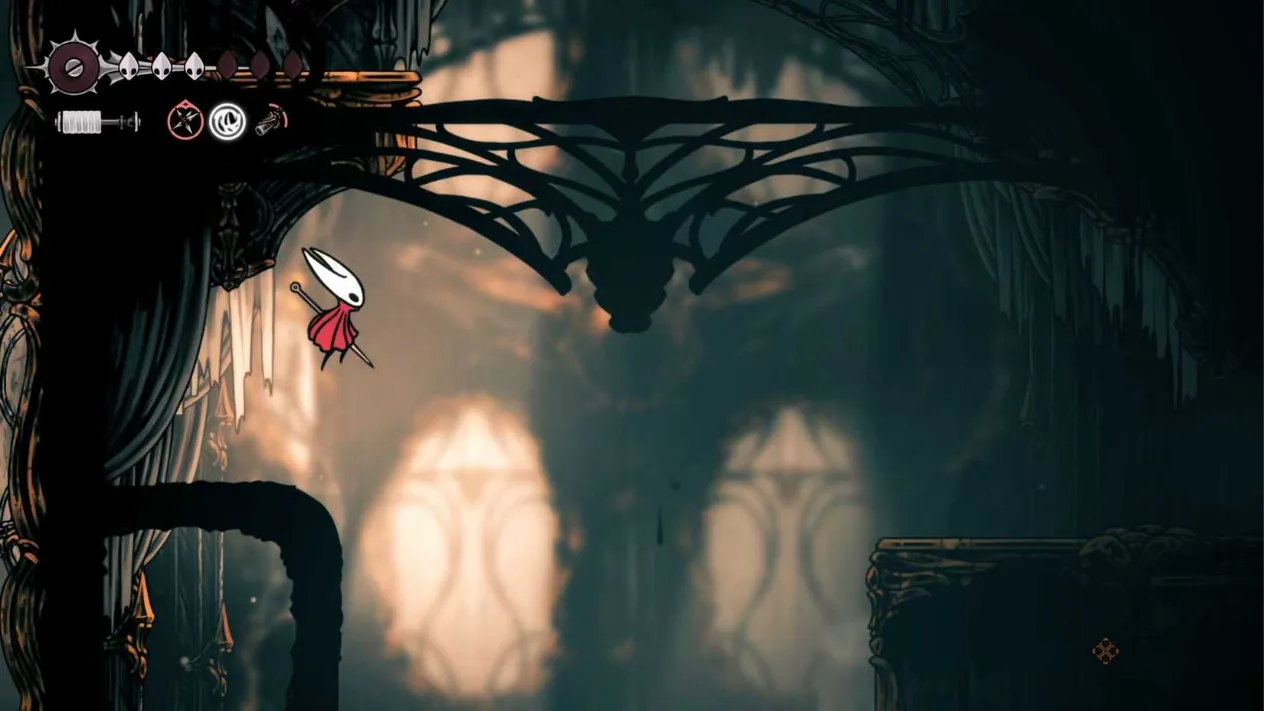
The Spike Shaft and the Bench Below
Past the Ministers, the architecture opened into a great hall where the floor had been replaced by spikes. She dropped toward them, glided into the left corner, then Clawlined to a ring on the right and simply waited. A second passed. A lever groaned somewhere in the dark, and the spikes beneath her sank. From there it became a rhythm: hook across the gap, cut down a Minister mid-flight, and finally drop through the exit below.
Relief arrived in the shape of a bench, a map, and a Ventrica humming to her right. She sat, breathed, and understood that the worst was still ahead. To the left waited a massive fight, and beyond it, the Conductor's Melody.
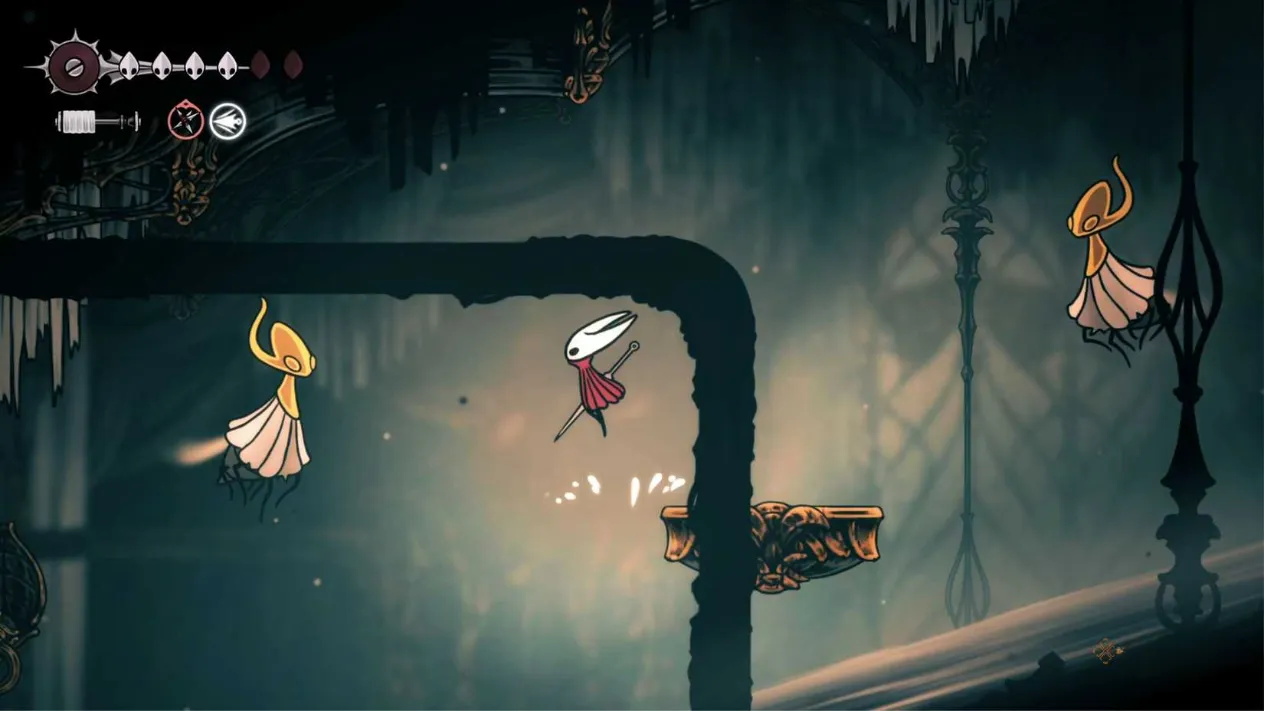
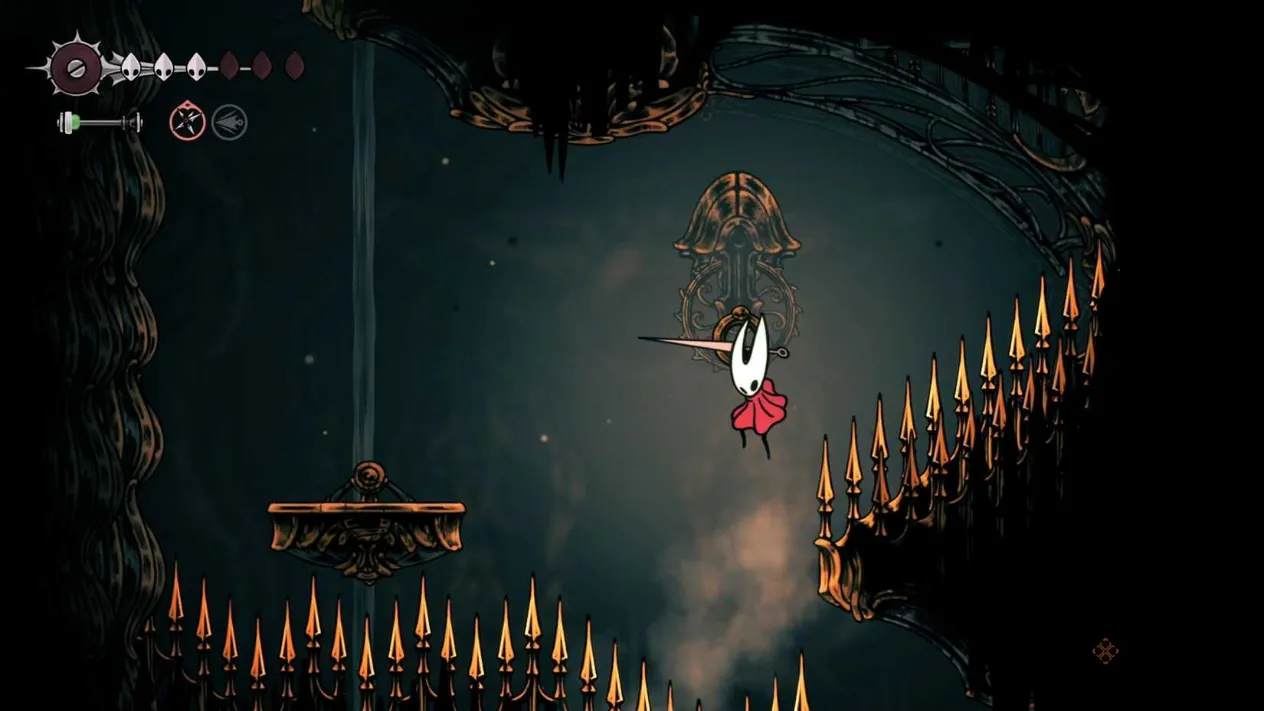
Eleven Waves, No Boss, No Mercy
What awaited her was not a boss. That was the joke, the one every veteran tells with a tired smile. Instead, the room demanded eleven consecutive waves of enemies, and losing at any point meant starting over from the bench on the right.
Wave
Enemies
1
One Chorister, one Reed, and one Envoy
2
Two Choristers
3
One Reed, one Choir Bellbearer, and one Clawmaiden
4
Two Ministers and one Clawmaiden
5
Two Maestros
6
One Choir Clapper (miniboss)
7
Two Reeds and one Choir Bellbearer
8
Two Choir Bellbearers, one Chorister, and one Clawmaiden
9
Two Ministers and one Choir Bellbearer
10
One Maestro and one Reed
11
Two Choir Clappers
Ten waves she could manage, bleeding and cursing but managing. The eleventh was something else entirely — two Choir Clappers, enormous, attacking without pause, leaping without warning. Fighting them fairly is close to impossible.
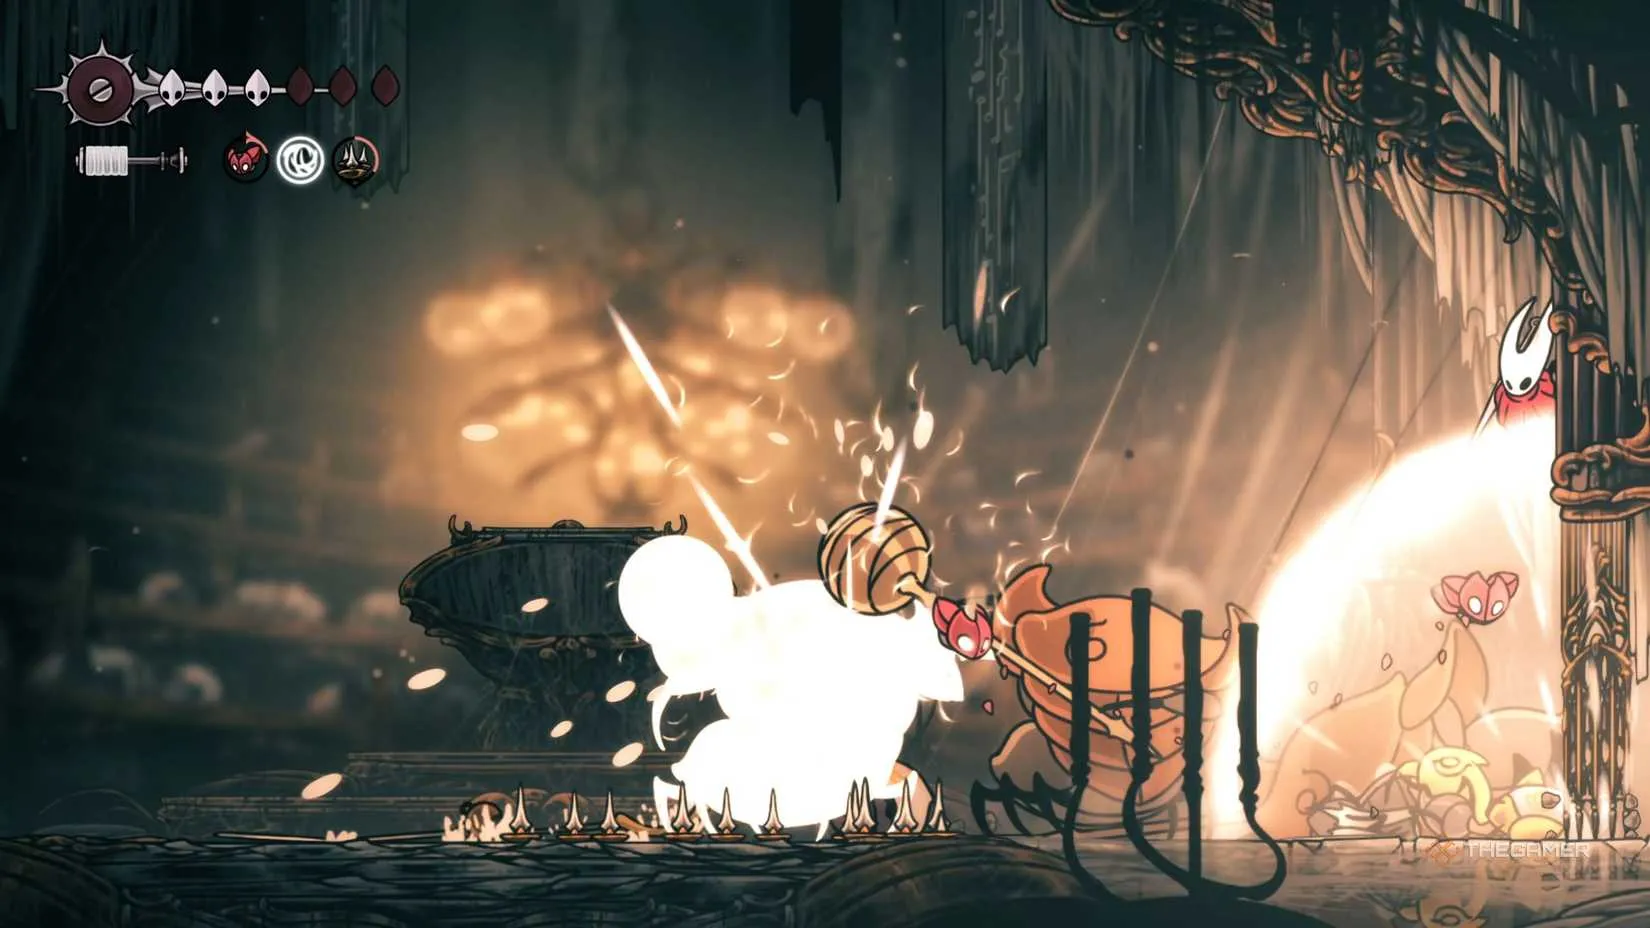
So she cheated, a little. First she bought the Ascendant's Grip, a yellow tool sold by the merchant in Songclave once that merchant has been unlocked. With it, the top-left and top-right corners of the arena become a genuine blind spot, a place where no Clapper's swing can reach. Then, the moment wave ten ended and debris began raining from the ceiling, she scattered every Tack across the floor on one side and released her Cogflies. From the safety of the corner, she watched the traps gnaw one miniboss down to nothing — and the survivor was, at last, a fair fight.
Secrets Hidden in the Shadows
The pilgrim did not leave empty-handed, either. High Halls rewards those willing to look sideways instead of forward, and its hidden corners hold some of the finest loot in the region.
#
Reward
How To Get It
1
Psalm Cylinder
While descending the spike area near the end, break the wall on your left, travel through the water, jump up and right, then defeat a large creature
2
Hidden Rosaries
Before dropping into the spike area, use the rings above you to climb and claim them at the top
3
Frayed Rosary String
After the spike area, take the left exit instead of descending; later, push a cart into the falling water, double jump up through a hidden door, push another cart, and climb to a silk wall
4
Simple Key Room
Just before the gauntlet fight, after a few platforms, find Rosaries, a Pale Rosary Necklace, and the Rosary Cannon tool
5
Cogfly Tool
In the spike room, take the left exit beside a Minister, jump across, and craft it at a table using Craftmetal
6
Spool Fragment
Requires the double jump; before the second room's exit, leap to the top left and climb far upward
By the time she finally walked away, the Conductor's Melody resting in her inventory and her nerves thoroughly shredded, the pilgrim understood something the rumors had never quite captured. High Halls is not difficult because it is unfair. It is difficult because it demands everything at once — movement, patience, preparation, and the humility to use a dirty trick when the honest one will not work. ?
Come prepared. Come stubborn. And do not forget the Tacks.
That same instinct — scouting the map before committing, hoarding resources, refusing to pay full price for something you can outsmart — tends to follow players out of the arena and into their libraries. Anyone who enjoys a game that punishes sloppy preparation usually ends up with a long wishlist and a short budget, which makes the hunt for a bargain almost a second hobby. Waiting for the right moment to buy, the way you'd wait for the right moment to spend a Tack, is its own kind of discipline.
If that sounds familiar, DealNest is built for exactly that mindset. It gathers best game deals in one place, so instead of refreshing a dozen store pages between attempts, you can see what's actually worth grabbing and get back to the fight. Come prepared, come stubborn — and come with a little money left over for the next challenge.
|
|
|
|
|

